User Manual
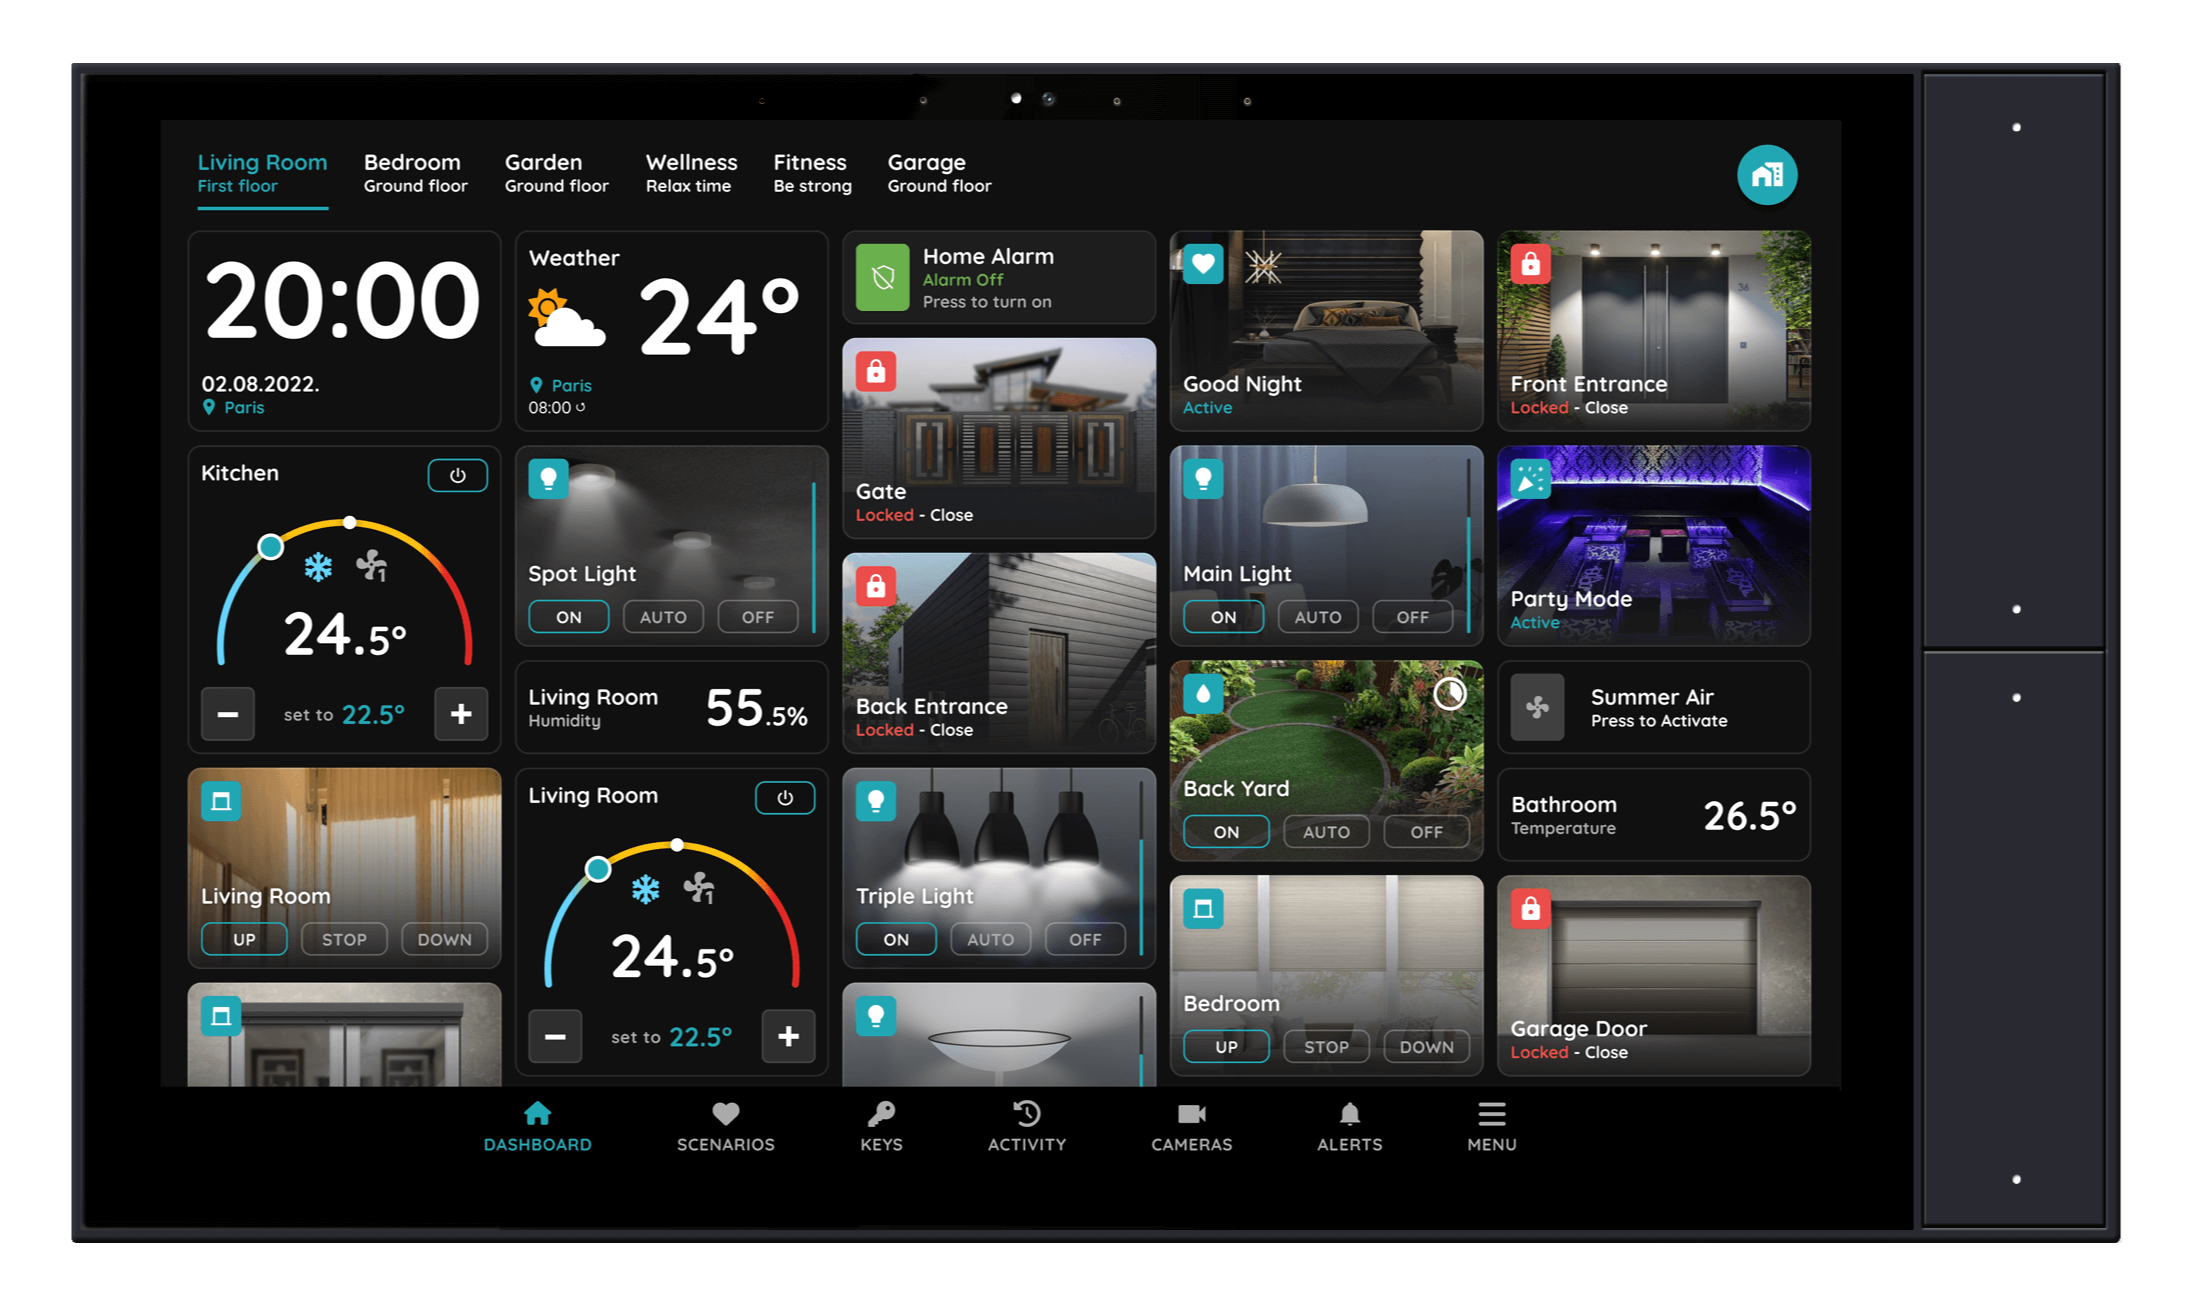
Smart Control Panel - Berlin 10"
SKU: P-DSP-BER
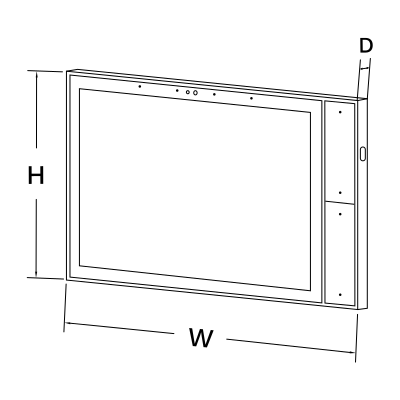
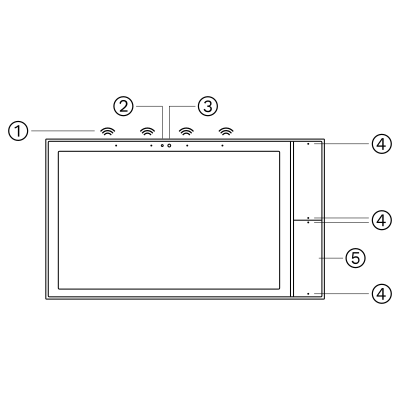
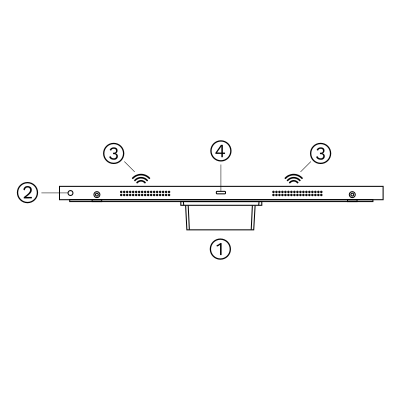
| Relay Type | 2-way relay 200W per circuit |
| Touch Screen Dimension | 10.1 inch |
| Touch Screen Resolution | 1920x1200px pixels |
| Operating Temperature | +32 - +104 |
| Operating Temperature (°C) | 0 - +40 |
| Operating Humidity | 5 - 90 , Non-condensing % RH |
| IP Rating | IP20 |
| LED Indicators | Yes |
| CPU | RK3566 Quad core Cortex-A55 |
| Operating System | Android |
| OS Version | 11 |
| Memory (RAM) | 2 GB |
| Memory (ROM) | 16 GB |
| Connectivity | 10M/100M Ethernet RJ45, 2.4GHz Wi-Fi (802.11 b/g/n), Zigbee |
| Built-in Sensors | Temperature, Humidity, Brightness |
| Warranty | 2 years |
| Input Power | 230V AC 50-60Hz 0.3A |
| Power Consumption | 10.0 W |
| Current | 10.0 A |
| Max Load | 10A |
| Panel Material | ABS+PC material |
| Product Color | Grey |
| Mounting Type | Wall mount |
| Mounting Box | 86x86x50mm |
| Bolt Hole Distance | 60 mm |
| Wiring Requirements | N - Neutral, L - Live |
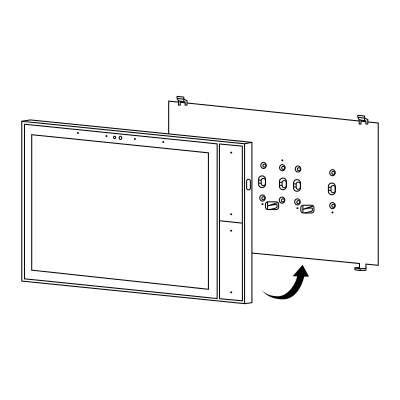
Separate the base from panel
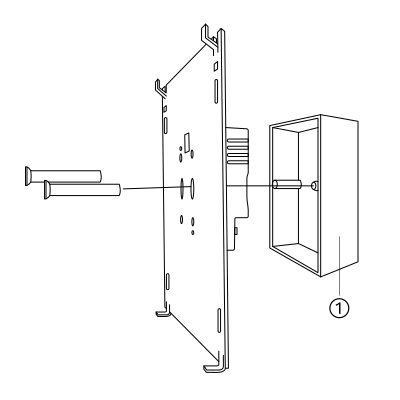
Fasten the base to the wall box with the mounting screws (M4 × 25 or M4 × 45).
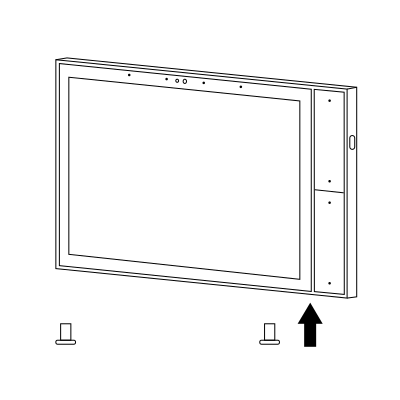
Fix the display back onto the base with the mounting screws (M2 × 4).
Note: Do not overtighten the screws; this can deform or damage the screen or hardware.
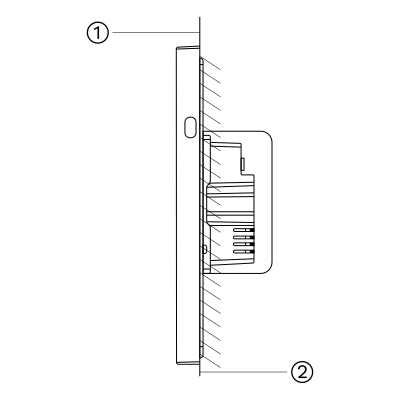
If the display is not flat after installation, do not press on the screen. Check the wall box and base installation first.
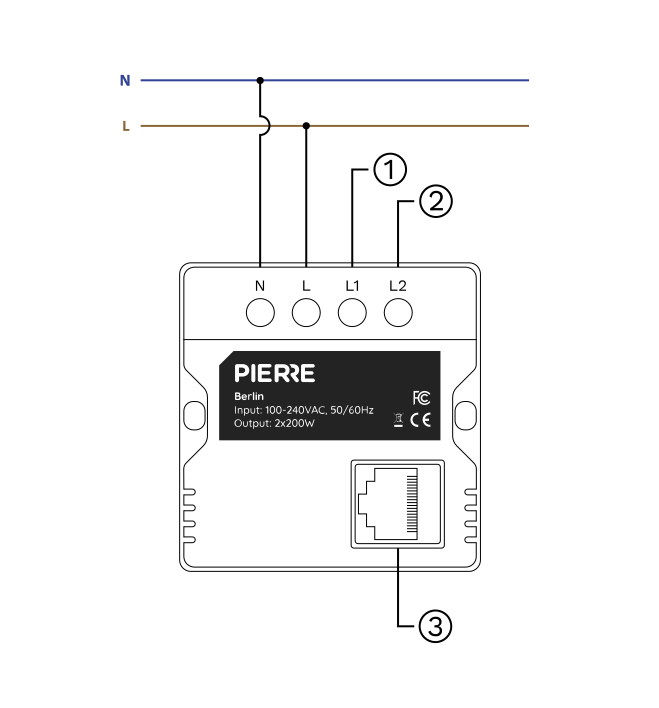
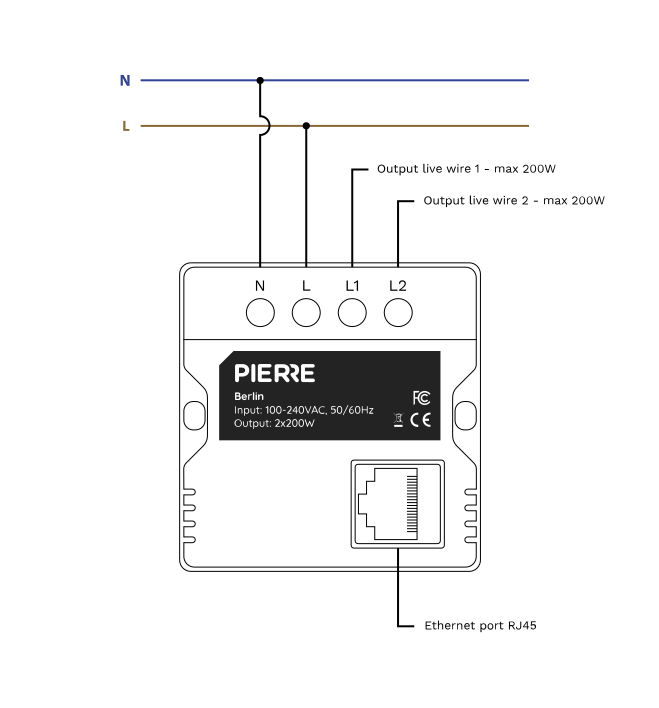
PIERRE Berlin 10" display – wiring diagram
| Run | Wires | Cross-section | Cable type | Conductors |
|---|---|---|---|---|
| From PIERRE Display to Electric box (Required) | 2 | 1.5 mm² | NYM-O | L, N |
| From PIERRE Display to Consumer (Optional) | 3 | 1.5 mm² | NYM-O | L1, L2, N |
| From PIERRE Display to Network Switch (Recommended) | 1 | - | Cat 5e U/UTP | - |
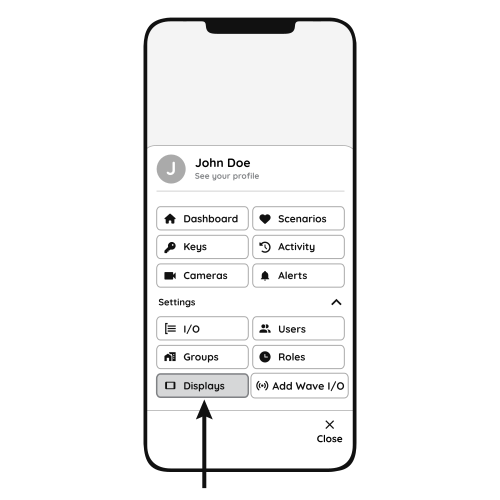
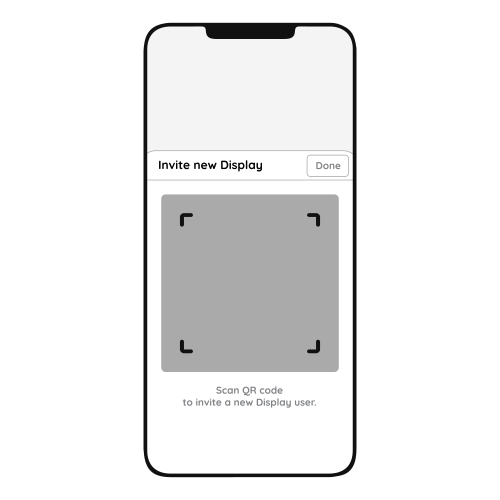
Follow the steps below to add the Helsinki display.
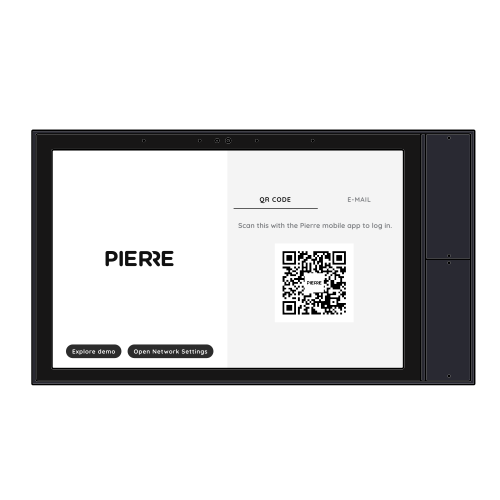
PIERRE Academy videos for the Berlin display:
Yes. Swipe down from the top of the display to open the menu, where you find the sound settings.
No. Displays connect to the system through the network, wired or wireless, and do not need a direct connection to the Controller.
Yes. A smaller display can be replaced with a larger one.
No. The displays are not waterproof and are not suitable for areas exposed to moisture or rain.
No. A temperature sensor integrated in the PIERRE system can monitor the room temperature and control the heating/cooling devices.
Yes. PIERRE offers its own smart thermostats; see the thermostat product category.
Yes. The Helsinki display has a built-in temperature and humidity sensor and two relays, so it can control heating/cooling devices like a thermostat.
Yes. The Helsinki display has a built-in temperature sensor and can replace an old thermostat.
Yes. The display relays can control underfloor heating valves as well as other heating and cooling devices.
PIERRE temperature sensors are available in wired and wireless versions; see the product specifications for the accuracy of each sensor.
At least one sensor for basic heating/cooling control. Install a sensor in every heating/cooling zone or room where you want individual temperature control.
A mains supply (2 × 1.5 mm², L and N) and a network connection through a UTP (Cat 5e) cable.
With a PIERRE Pro Controller and an M-Bus to Modbus converter. The heat meters are connected to the M-Bus side of the converter.
Yes. The temperature can be controlled room by room.
Not always, but it is often useful.
Not necessary if: the sensor is factory-calibrated (±0.5 °C or better); the application does not need high precision (comfort heating/cooling in a home); the installation location is good (away from direct sun, drafts and heat sources).
Useful if: the displayed temperature does not match a reliable reference thermometer; the device is installed where it is affected by heat from electronics, sunlight or poor airflow; the system needs precise control (HVAC, energy optimisation).
In the Smart PIERRE app, calibration is optional. You can add or subtract an offset to fine-tune the reading.