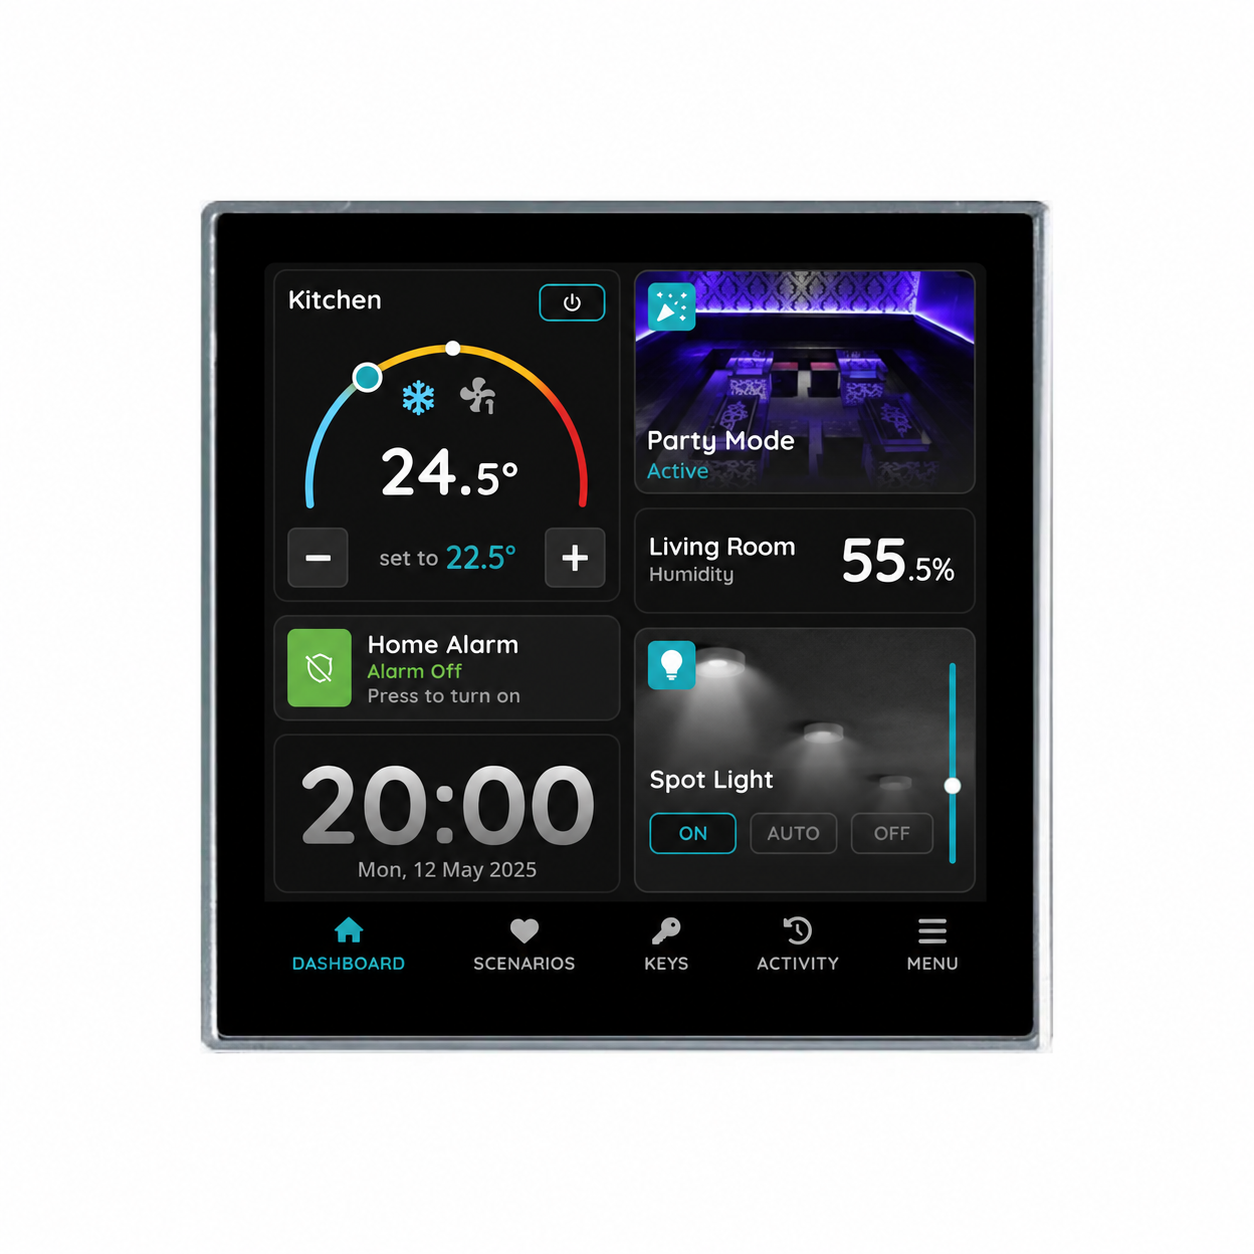
User Manual
Smart Control Panel - Rio Lite 4"
SKU: P-DSP-RIO-LITE
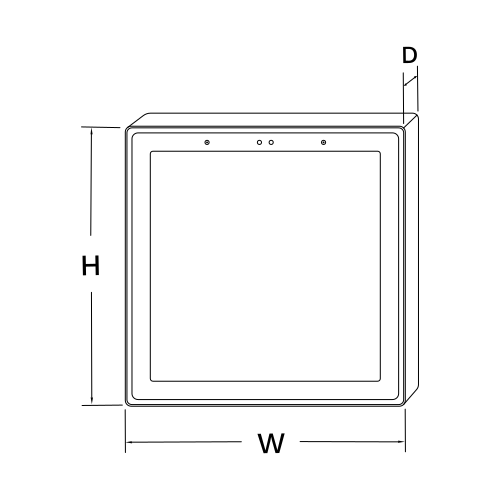
W: 8.6 cm
H: 8.6 cm
D: 1 cm
| CE Marking | Yes |
| RoHS Compliant | Yes |
| Warranty | 2 years |
| Touch Screen Dimension | 4 inch |
| Touch Screen Resolution | 480x480px pixels |
| Power Supply | DC 12V/24V |
| Operating Temperature | +32°F - +104°F |
| Operating Temperature (°C) | 0 - +40 |
| Operating Humidity | 5% - +90% RH, Non Condensing % RH |
| CPU | PIERRE Smart Chip |
| Connectivity | 10M/100M Ethernet RJ45, 2.4GHz Wi-Fi (802.11 b/g/n), Zigbee, Modbus, RS485 |
| PoE Support | Yes |
| Built-in Sensors | Temperature, Humidity |
| Panel Material | ABS+PC material |
| Product Color | Black |
| Mounting Type | Wall mount |
| Mounting Box | 86x86x50mm |
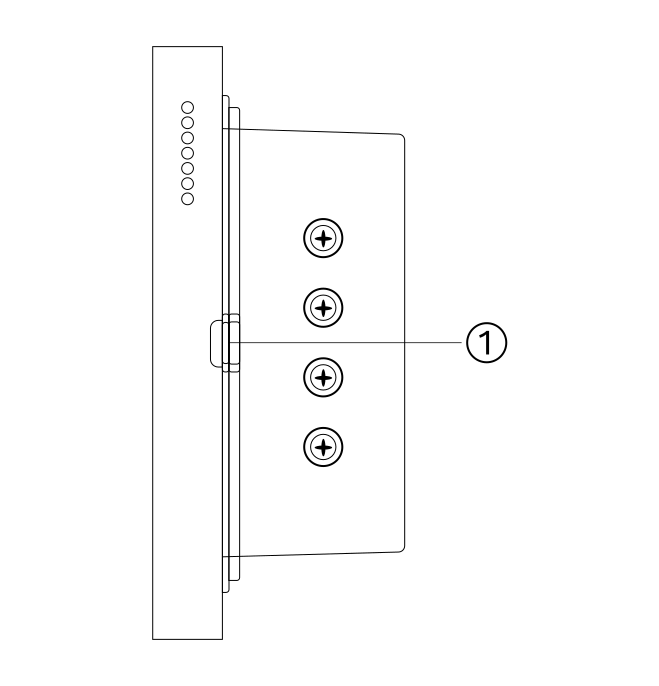
Turn off the main power in the electric box and make sure the live wire in the wall box is not live.
Remove the base of the display and install it in the wall box.
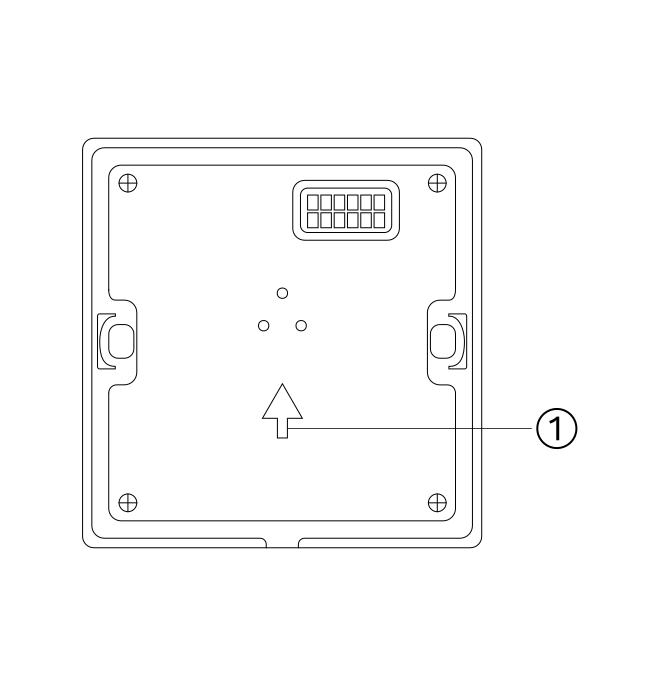
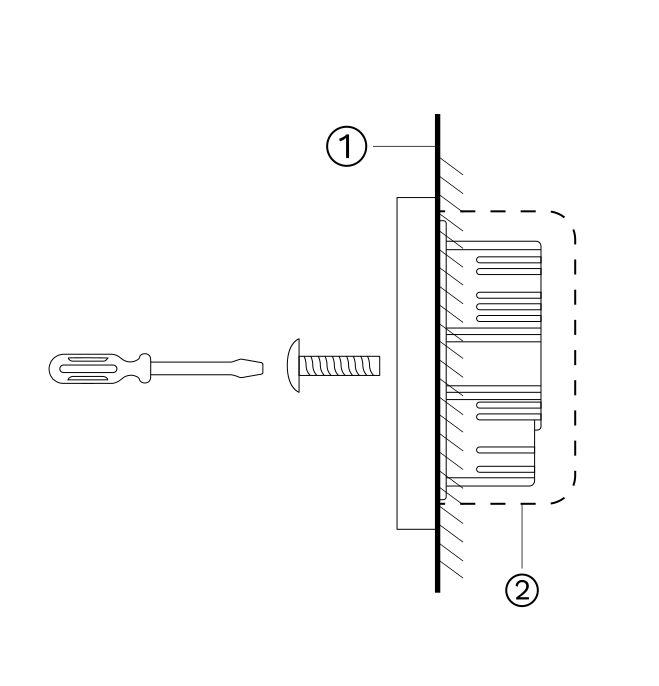
Fasten the base to the wall box with the mounting screws and fix the display back onto the base.
If the display is not flat after installation, do not press on the screen. Check the wall box and base installation first.
Do not overtighten the screws; this can deform or damage the screen and hardware.
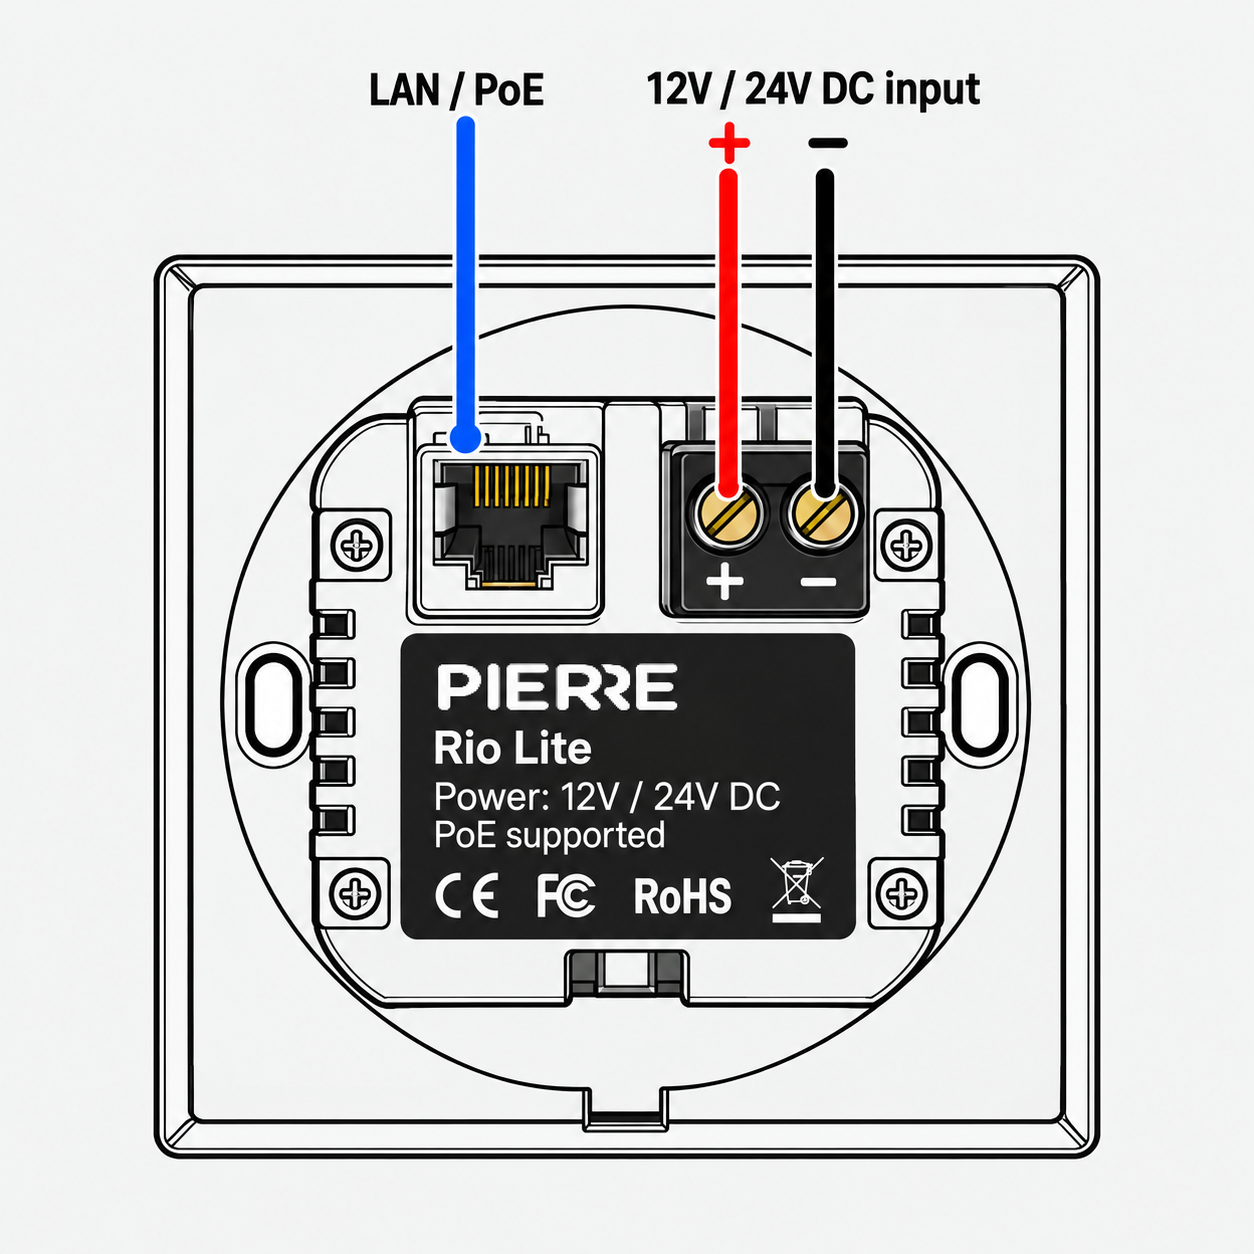
The PIERRE Rio Lite supports two power supply options: PoE or an external 12V / 24V DC power supply.
1. LAN / PoE Connector
2. 12V / 24V DC Input
Note: When using PoE, an external DC power supply is not required.
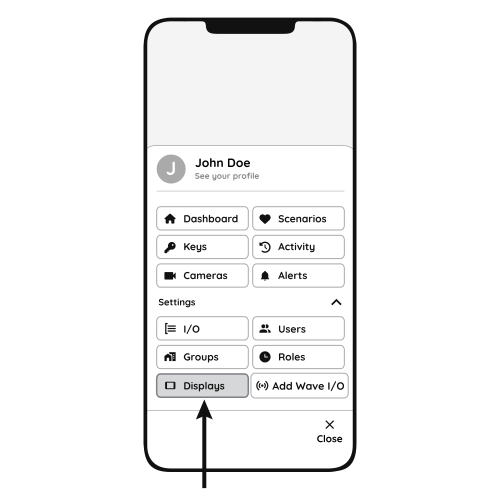
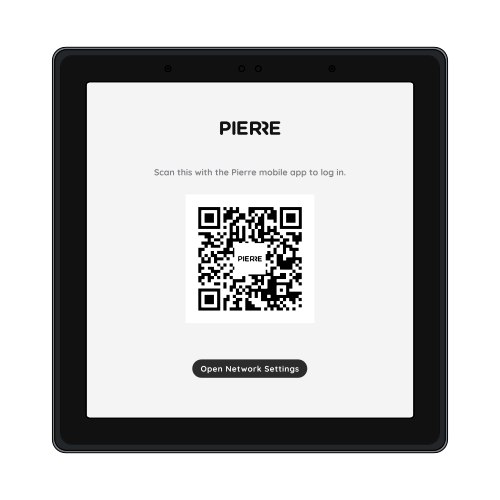
Follow the steps below to add the Helsinki display.
PIERRE Academy - Full Display Integration & Automation Guide. https://www.youtube.com/watch?v=XPsZkIxCtJE
The system continues to work locally without internet access, but remote access (for example controlling devices from a phone while away) is not possible.
Yes. Swipe down from the top of the display to open the menu, where you find the sound settings.
No. Displays connect to the system through the network, wired or wireless, and do not need a direct connection to the Controller.
Yes. A smaller display can be replaced with a larger one.
Yes, the Rio display has a built-in temperature and humidity sensor. It can switch heating or cooling devices through the dashboard.
No. The displays are not waterproof and are not suitable for areas exposed to moisture or rain.
No. A temperature sensor integrated in the PIERRE system can monitor the room temperature and control the heating/cooling devices.
Yes. PIERRE offers its own smart thermostats; see the thermostat product category.