User Manual
Intercom Miami 10"
SKU: P-INT-MIAMI
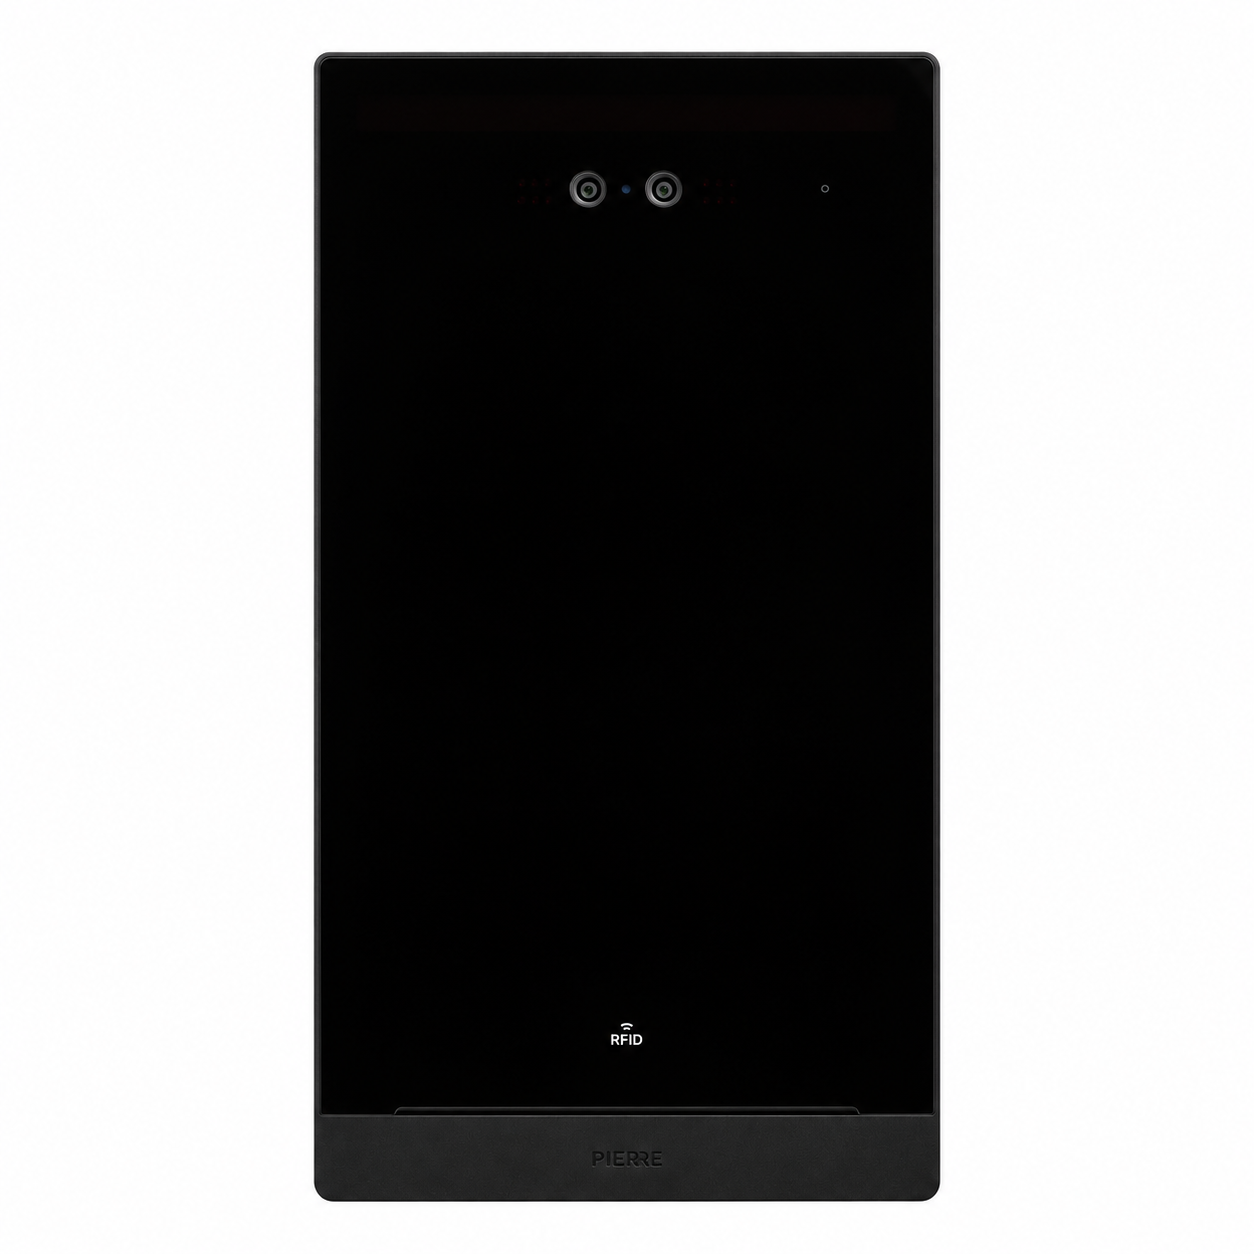
The PIERRE Intercom Miami 10″ is a smart IP outdoor intercom designed for secure and convenient building access. Featuring a 10-inch HD touchscreen and dual cameras with infrared technology, it provides reliable facial recognition both day and night.
The system supports multiple access methods, including facial recognition, IC card, PIN code, and remote unlocking via the mobile app. Residents can receive video calls, communicate with visitors, and unlock doors remotely.
Its durable IP54-rated aluminium and tempered glass housing ensures reliable outdoor operation, while the flush-mounted design provides a clean, modern appearance.
| Sensor Type | CMOS |
| Resolution | 2MP |
| Fill-in Light | White LED |
| View Angle | Horizontal 115°, Vertical 90° |
| Camera Features | Face recognition |
| CE Marking | Yes |
| RoHS Compliant | Yes |
| Warranty | 2 years |
| Relay Type | Dry Contact None |
| Access Modes | Smartphone, RFID Card, PIN |
| Card Reader Technology | 13.56MHz |
| Touch Screen Dimension | 10 inch |
| Touch Screen Resolution | 1280x800px pixels |
| Power Supply | DC 12V |
| Operating Temperature | -25°C ~ +70°C |
| Operating Temperature (°C) | -25 ~ +70 |
| Operating Humidity | 10-93 % RH |
| IP Rating | IP54 |
| CPU | Dual-core Cortex-A72 + Quad-core Cortex-A53, 1.8GHz |
| Operating System | Android |
| OS Version | 7.1 |
| Memory (RAM) | 2 GB |
| Memory (ROM) | 8 GB |
| Width | 165 mm |
| Height | 340 mm |
| Depth | 33.8 mm |
| Panel Material | Tempered glass |
| Material | Tempered glass panel + aluminum alloy body + sheet metal bottom shell |
| Product Color | Black |
| Mounting Type | Flush mount |
| Connectivity | 10M/100M Ethernet RJ45, 2.4GHz Wi-Fi (802.11 b/g/n), RS485 |
| PoE Support | Yes |
| PoE Protocol | IEEE 802.3af/at 15.4W/30W None |
| Interface | RJ45 |
| Safety Features | Tamper alarm, Door status detection |
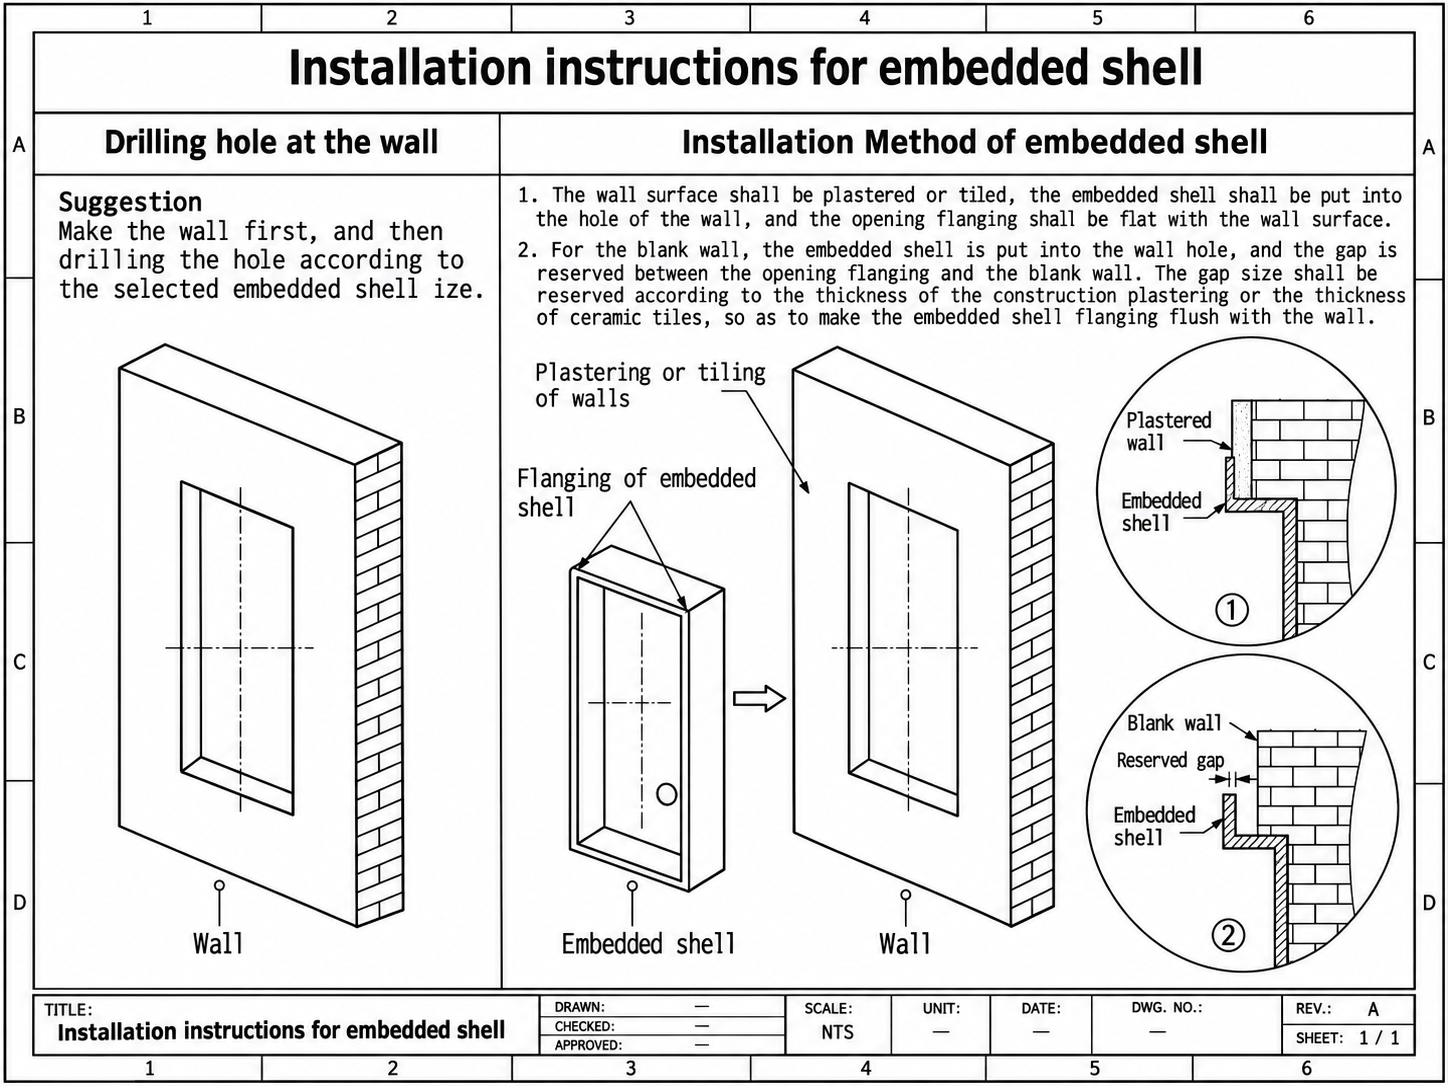
This wiring configuration is designed for 12V DC Fail-Secure electric locks, using the intercom's NO (Normally Open) and COM (Common) relay contacts.
When the unlock button is pressed, the intercom relay connects COM to NO, supplying 12V DC to the electric lock and releasing the door.
When the relay returns to its normal state, power to the lock is interrupted, and the lock returns to its locked state.
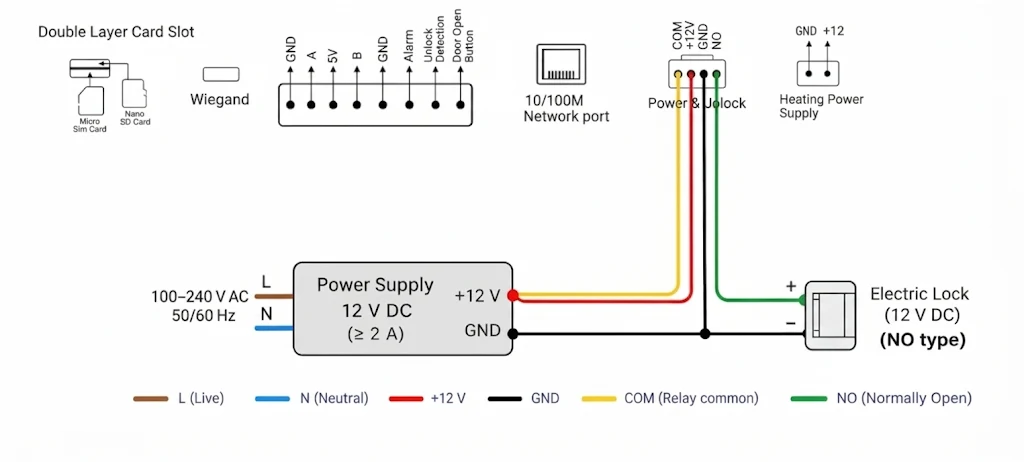
The intercom provides A and B terminals for RS485 communication, which can be used for Modbus RTU if supported by the device firmware.
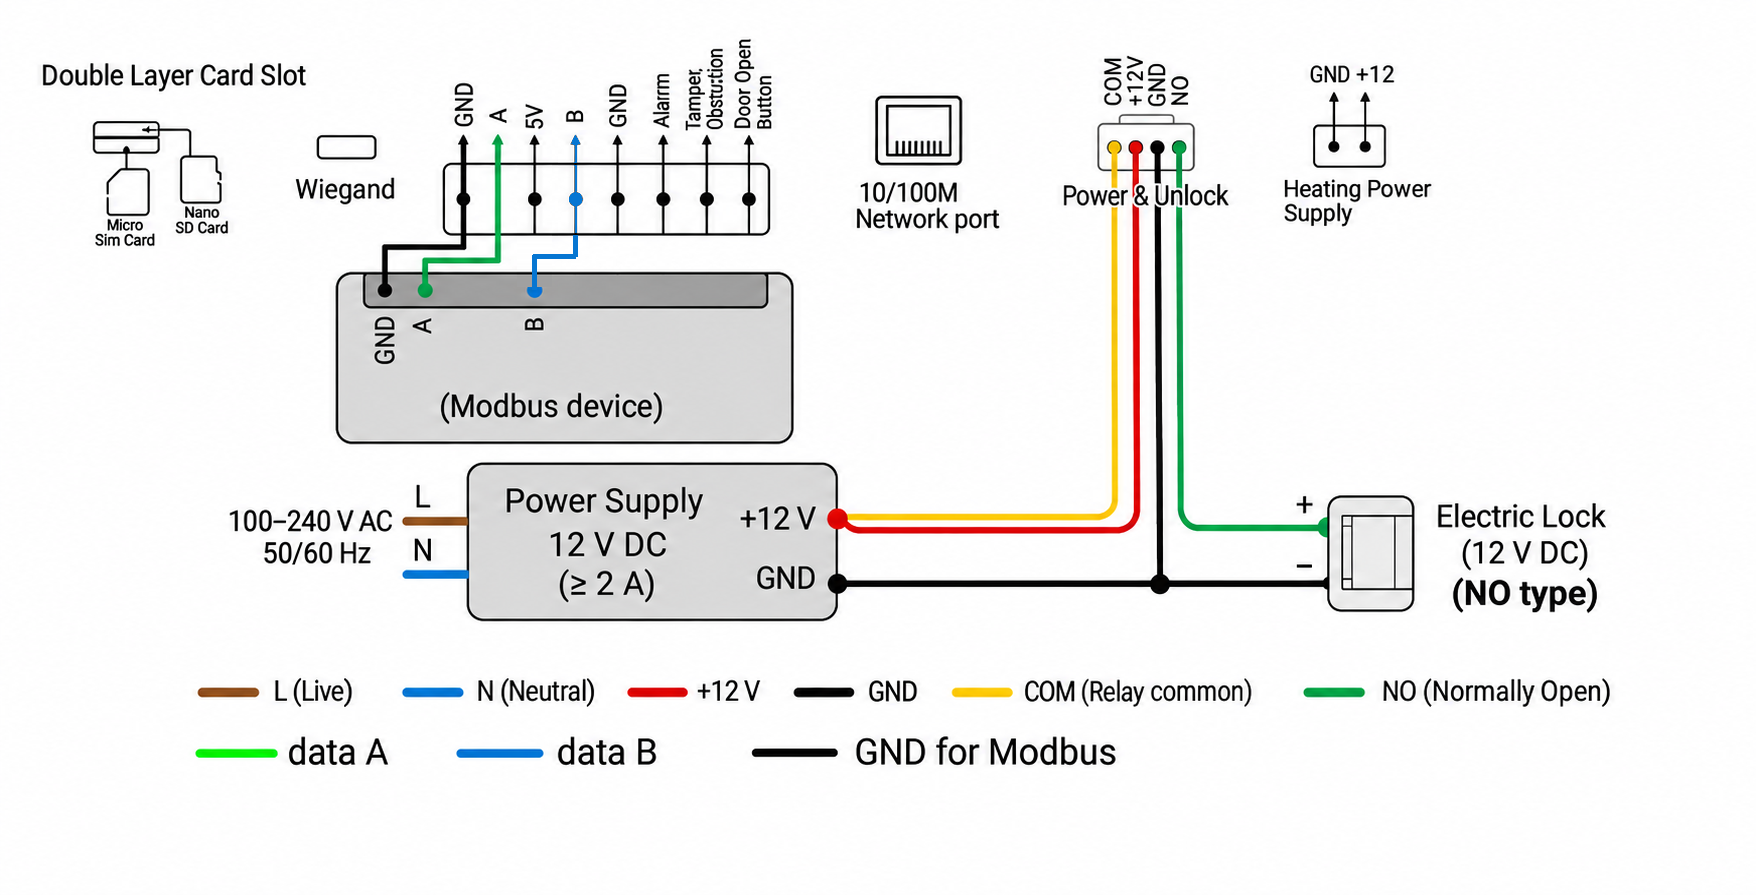
The PIERRE Intercom supports multiple network connection options, allowing flexible installation depending on the available infrastructure and project requirements.
The intercom can connect to the local network and access the internet through Wi-Fi or a wired Ethernet connection. It also supports Power over Ethernet (PoE), which allows both network data and electrical power to be delivered through a single Ethernet cable, simplifying installation and reducing the need for additional wiring.
For wired Ethernet and PoE installations, we recommend using a Cat6 UTP (Unshielded Twisted Pair) Ethernet cable with solid copper conductors.
For maximum connection stability and reliability, especially for video communication and remote door access, a wired Ethernet connection is recommended.
When using PoE, ensure that the PoE switch or injector is compatible with the intercom's supported PoE standard and power requirements.
When using Wi-Fi, ensure that the intercom is installed within the coverage area of a stable wireless network with sufficient signal strength.
An active internet connection is required for cloud-dependent functions, such as remote access and mobile notifications.
When the intercom is powered on, its screen shows a QR code. Scan this code with the PIERRE app to add the intercom to a building.
First select the building you want to add the intercom to, then follow the steps below.
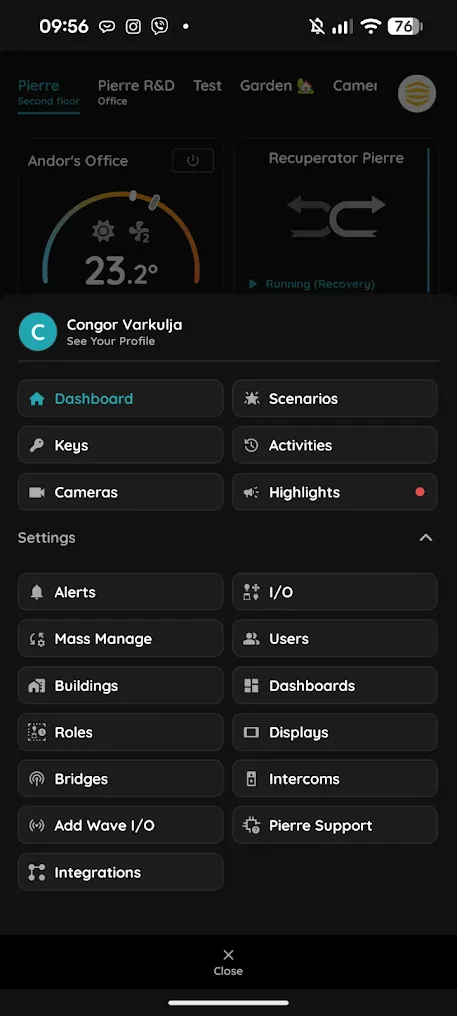
Open the Menu and go to Settings.
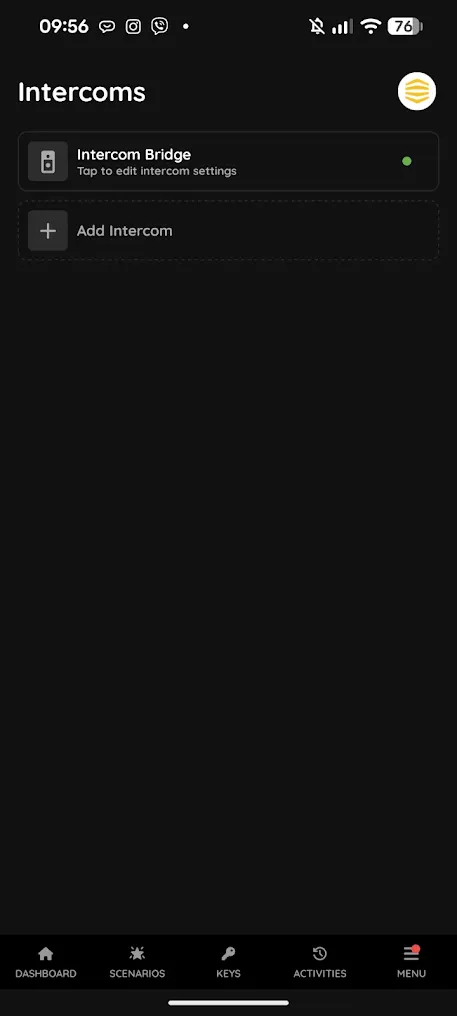
Tap Intercoms. The list shows the intercoms already added to the building.
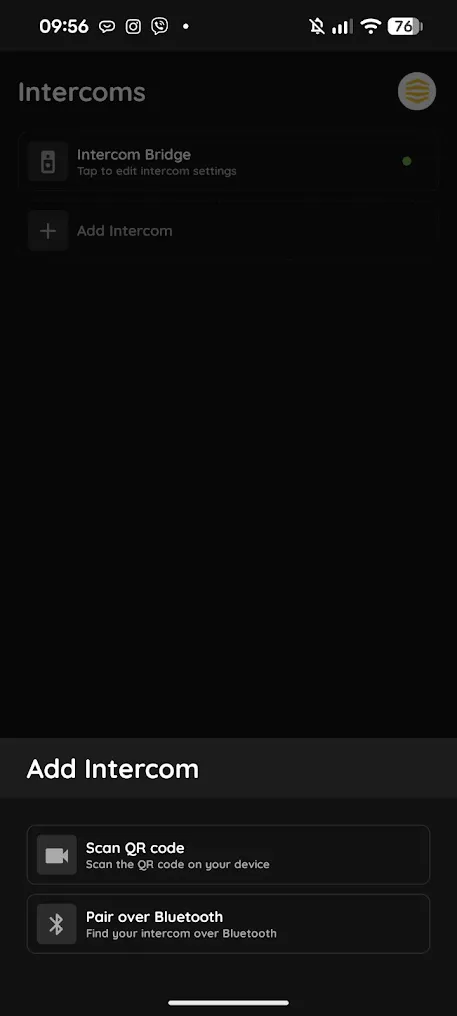
Tap Add Intercom, then choose Scan QR code.
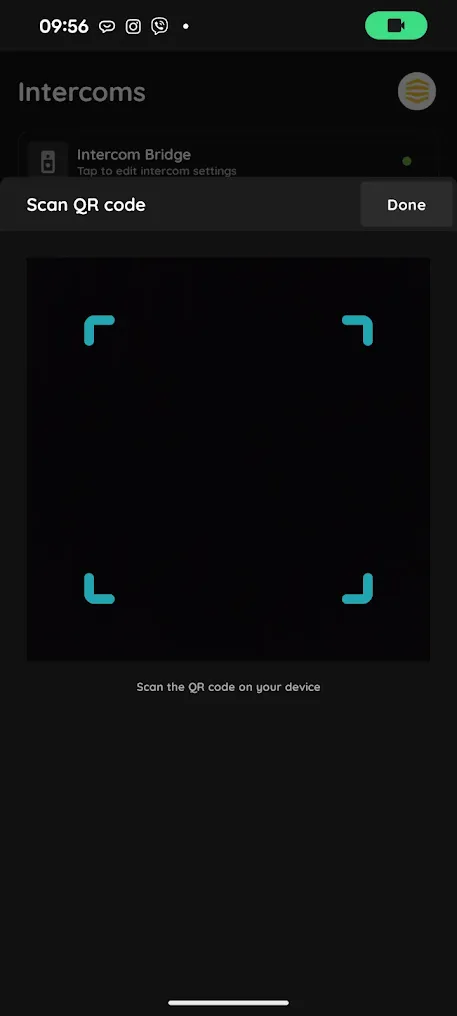
Point the phone's camera at the QR code on the intercom's screen.
Automatic setup: make sure the intercom is added to the right building – the main building or the correct sub-building. The intercom then automatically finds all displays and users added to that building, so no further programming is needed.
All access to the intercom is managed in the PIERRE app with PIERRE tokens. Face recognition, PIN codes and RFID cards are added as tokens, so nothing has to be enrolled directly on the intercom. Every user with access to the building adds their own tokens from their profile.
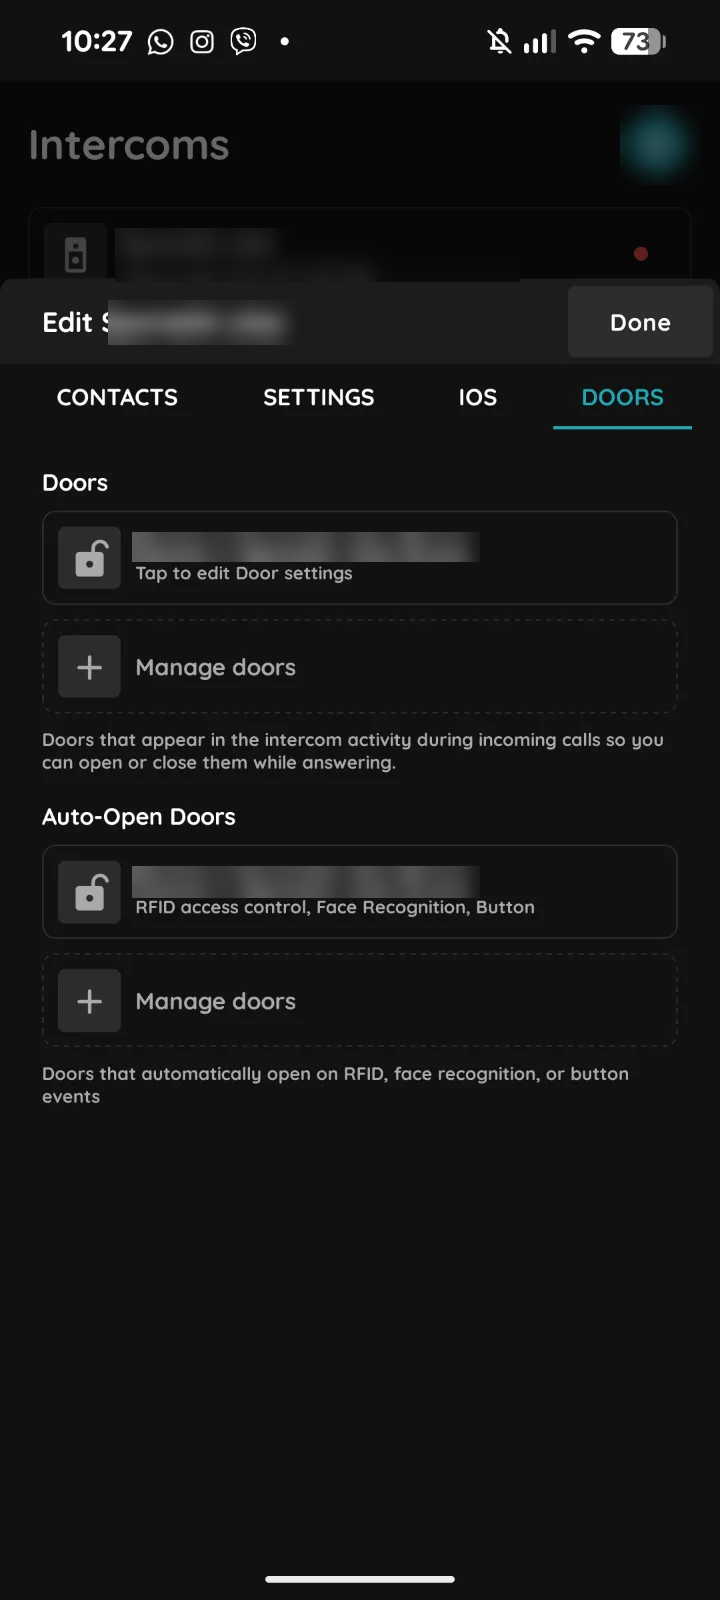
If a door is connected to the intercom, it also appears in the PIERRE app as a door I/O, so it can be opened from the app as well.
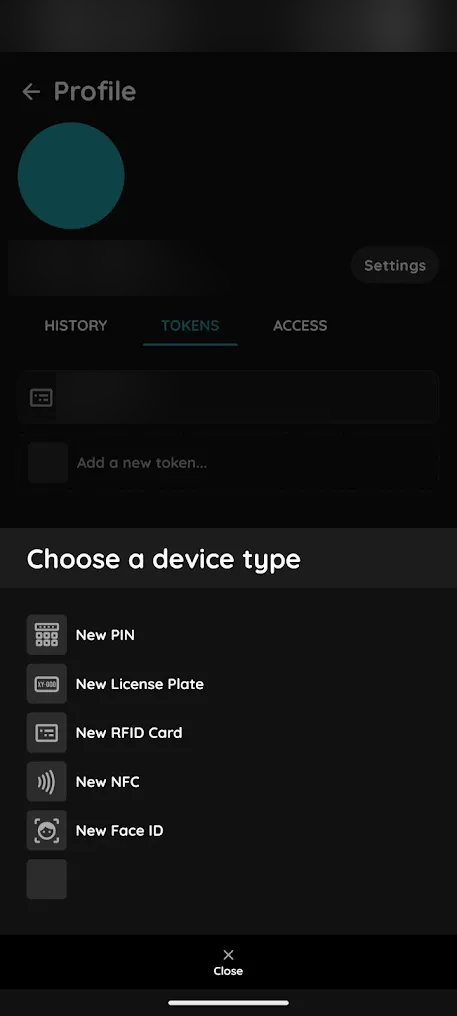
A token does not select doors itself. It opens the doors that the user's roles give access to, on the days and at the times set for those roles. Roles and time limits are shown on the ACCESS tab of the profile.
Administrators can also add tokens for other users from that user's profile, on the TOKENS tab.
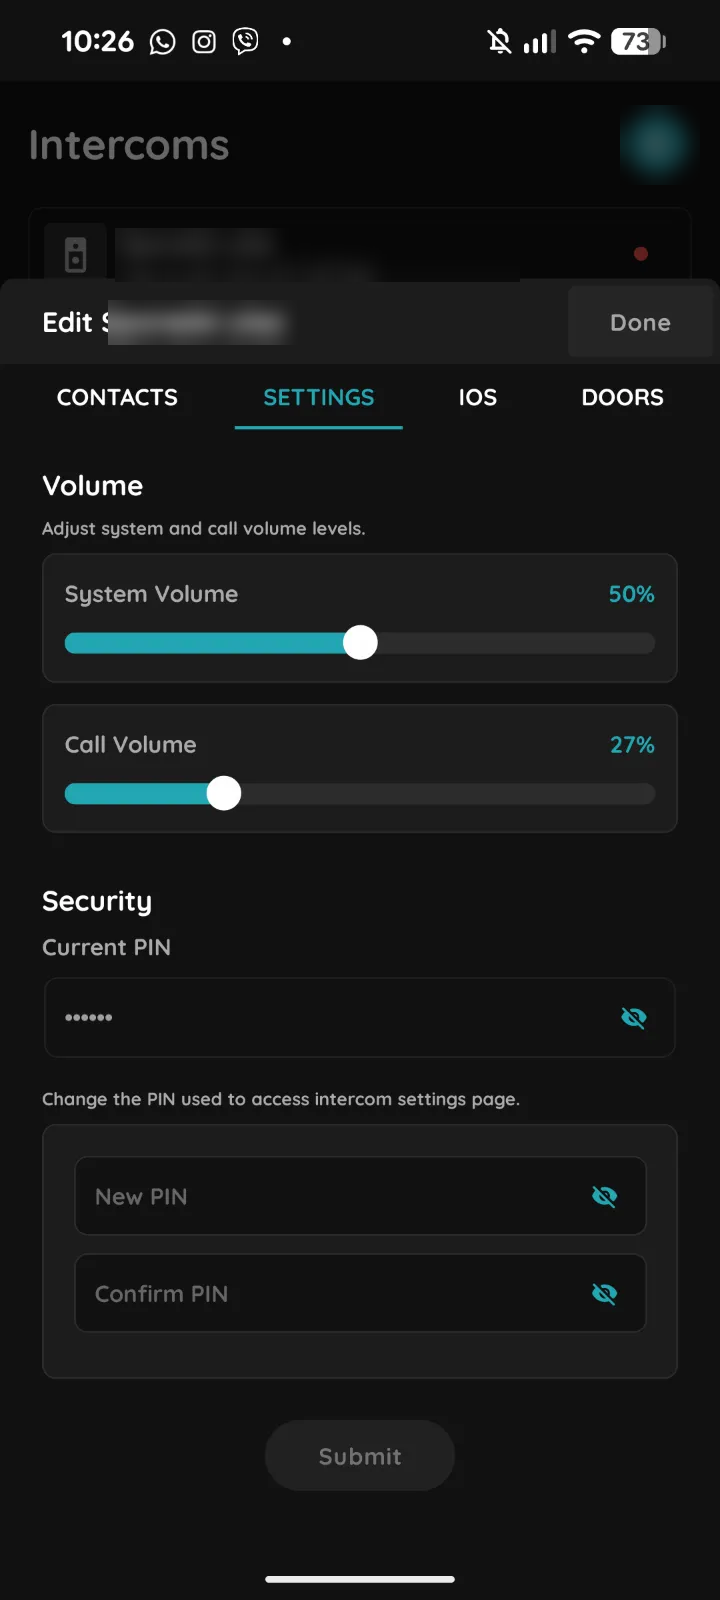
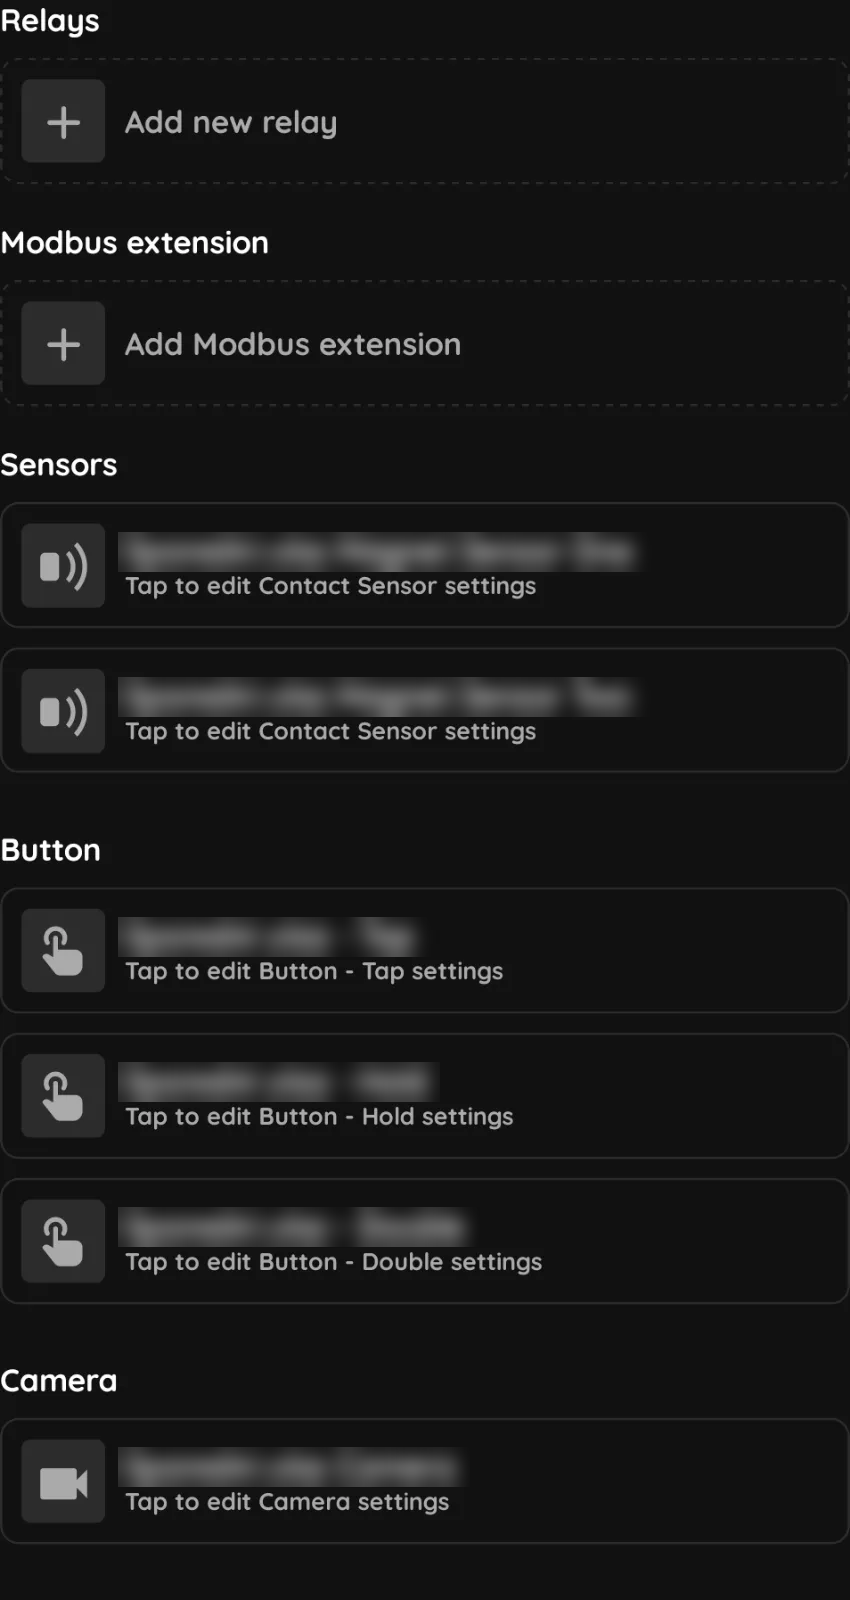
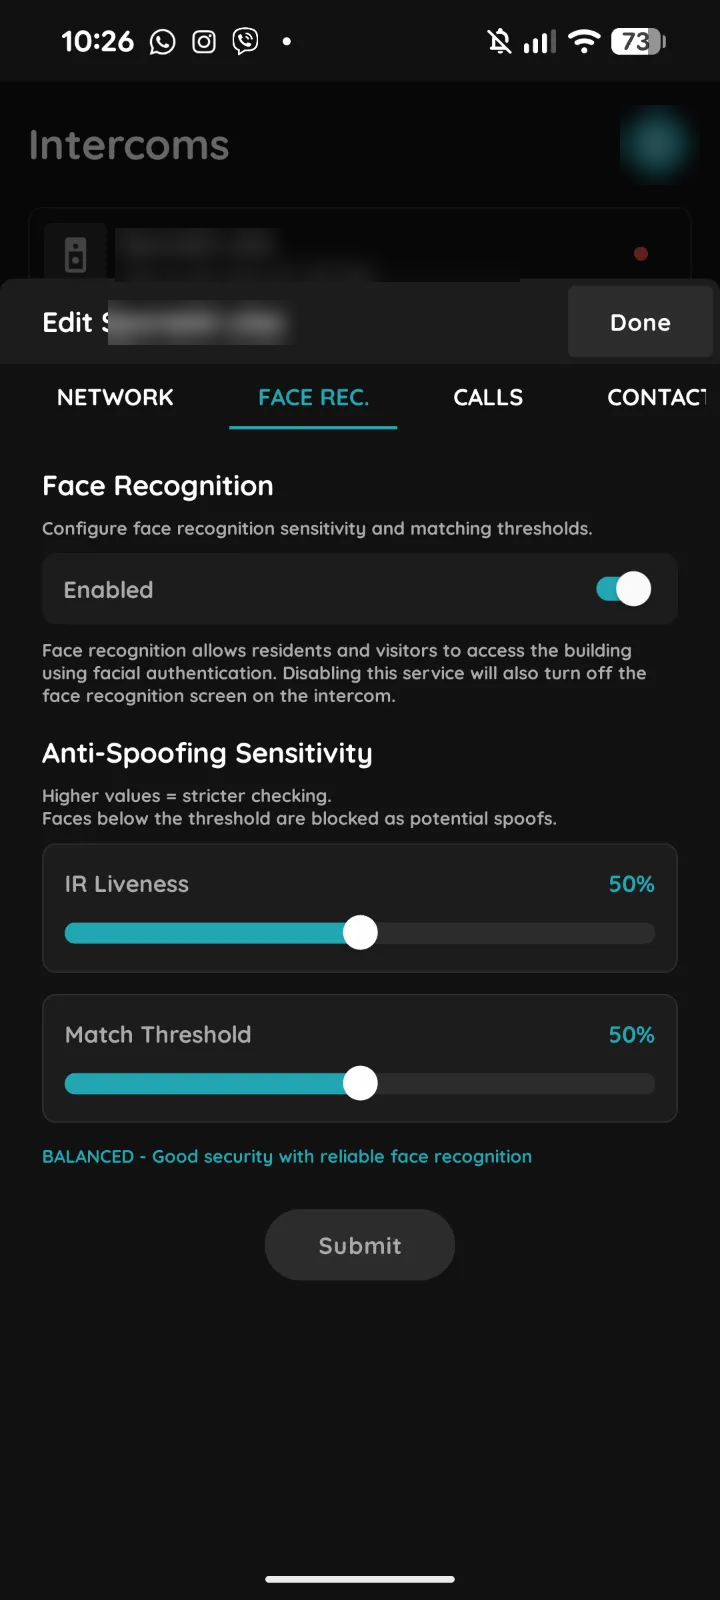
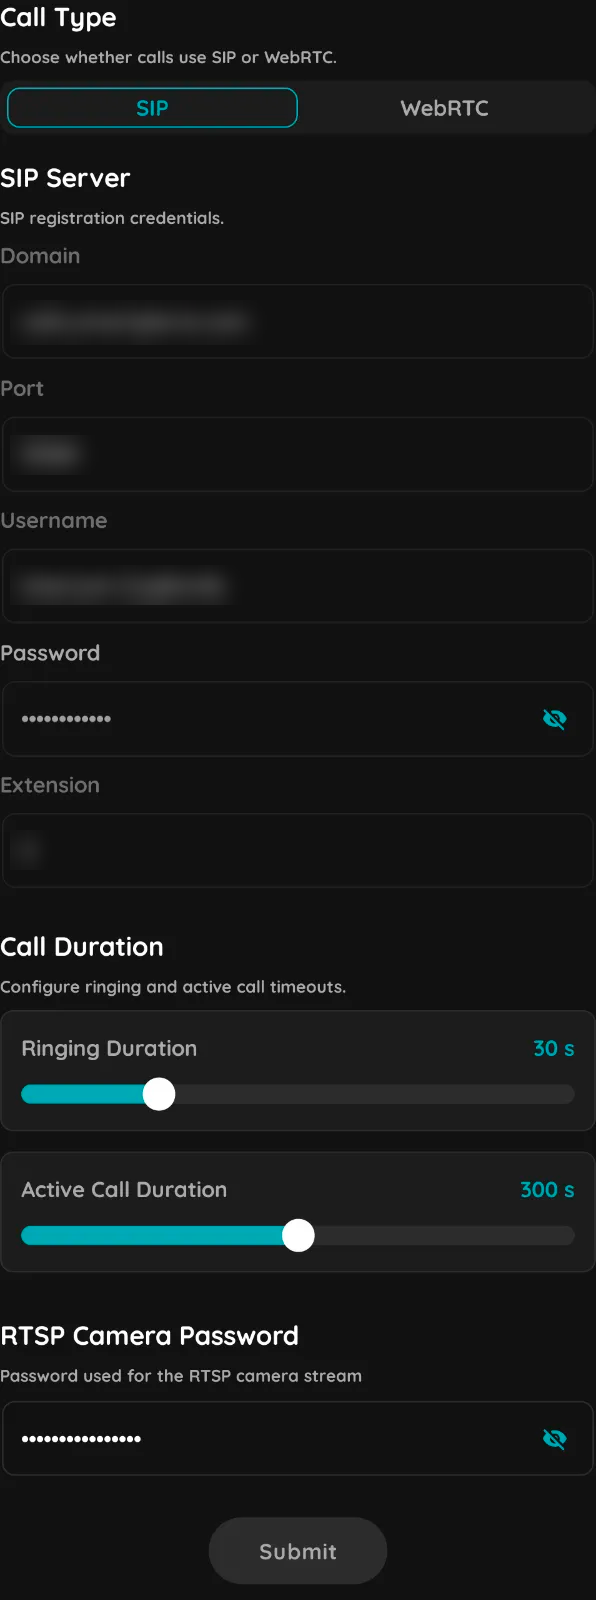
Open Menu → Settings → Intercoms and tap the intercom to open its settings. The settings are grouped in tabs: Info, Screens, Network, Face Rec., Calls, Contacts, Settings, IOs and Doors. Change a tab, then tap Submit or Done to save.
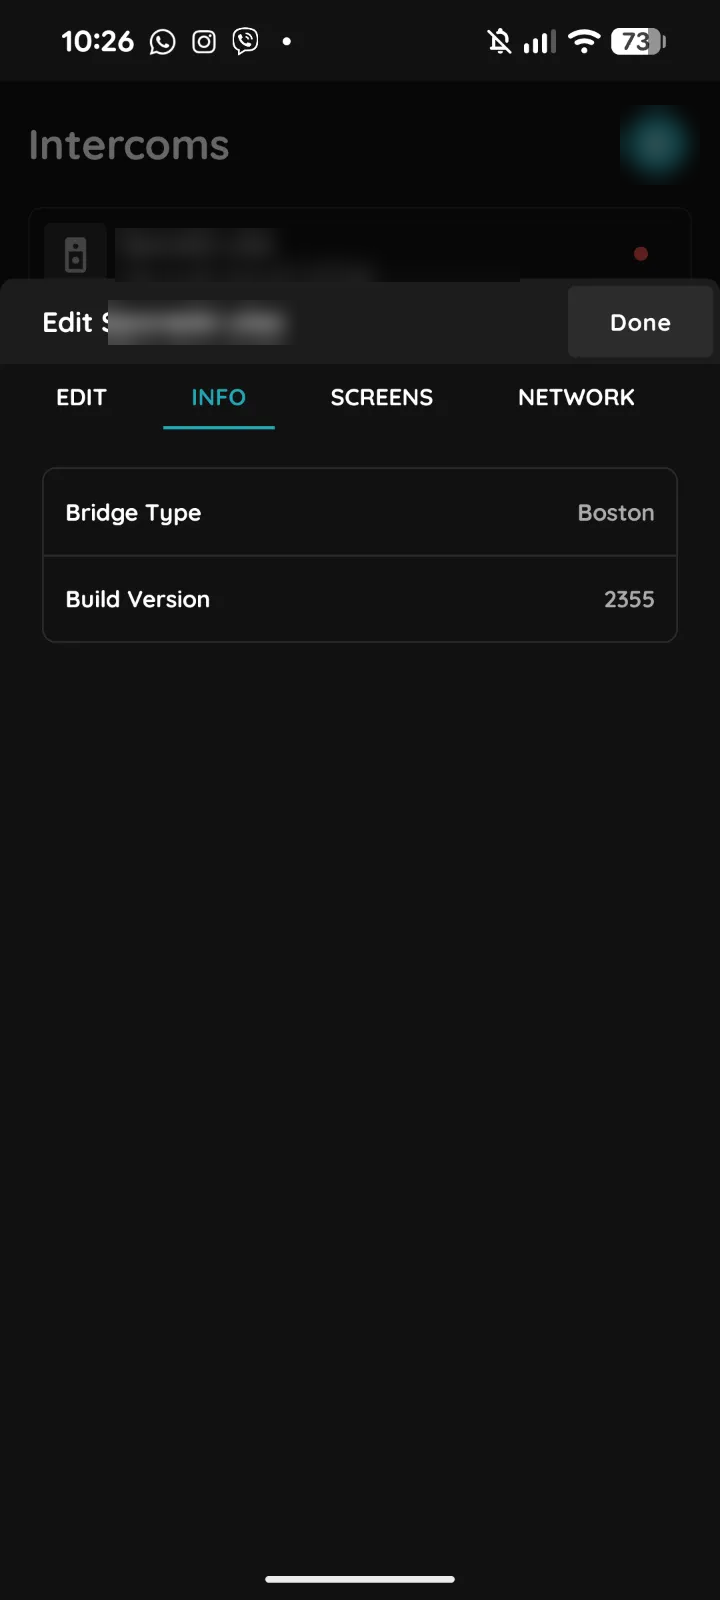
Shows the intercom type and the firmware build installed on it.
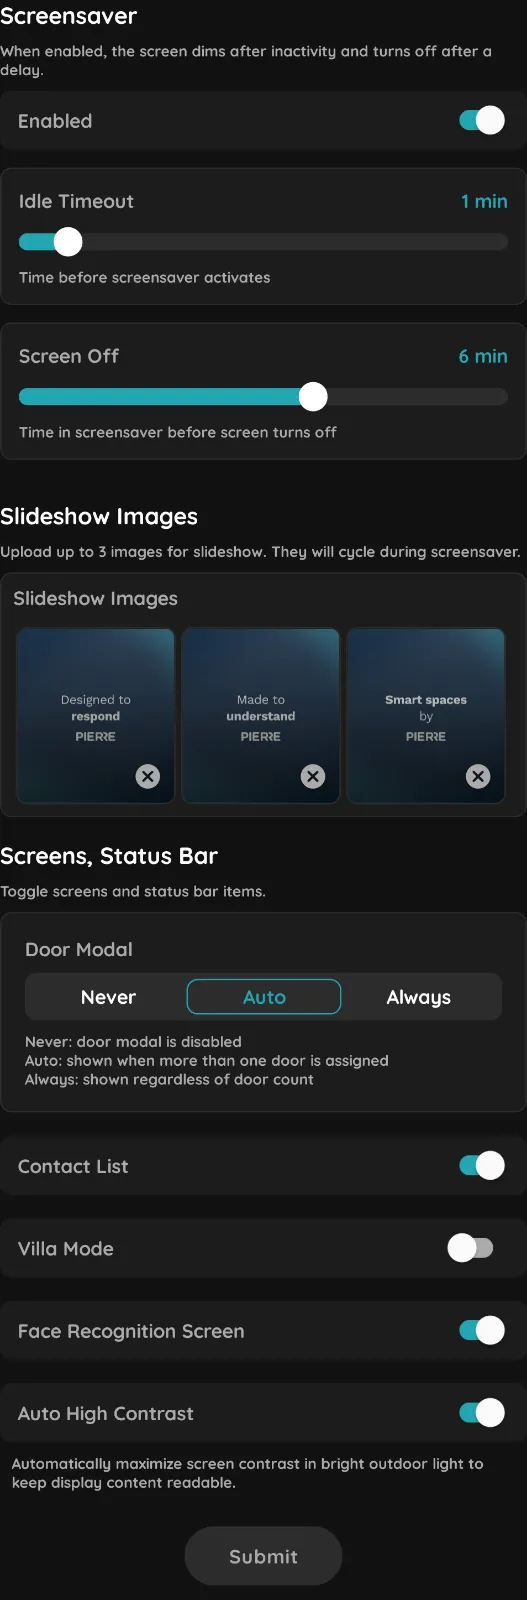
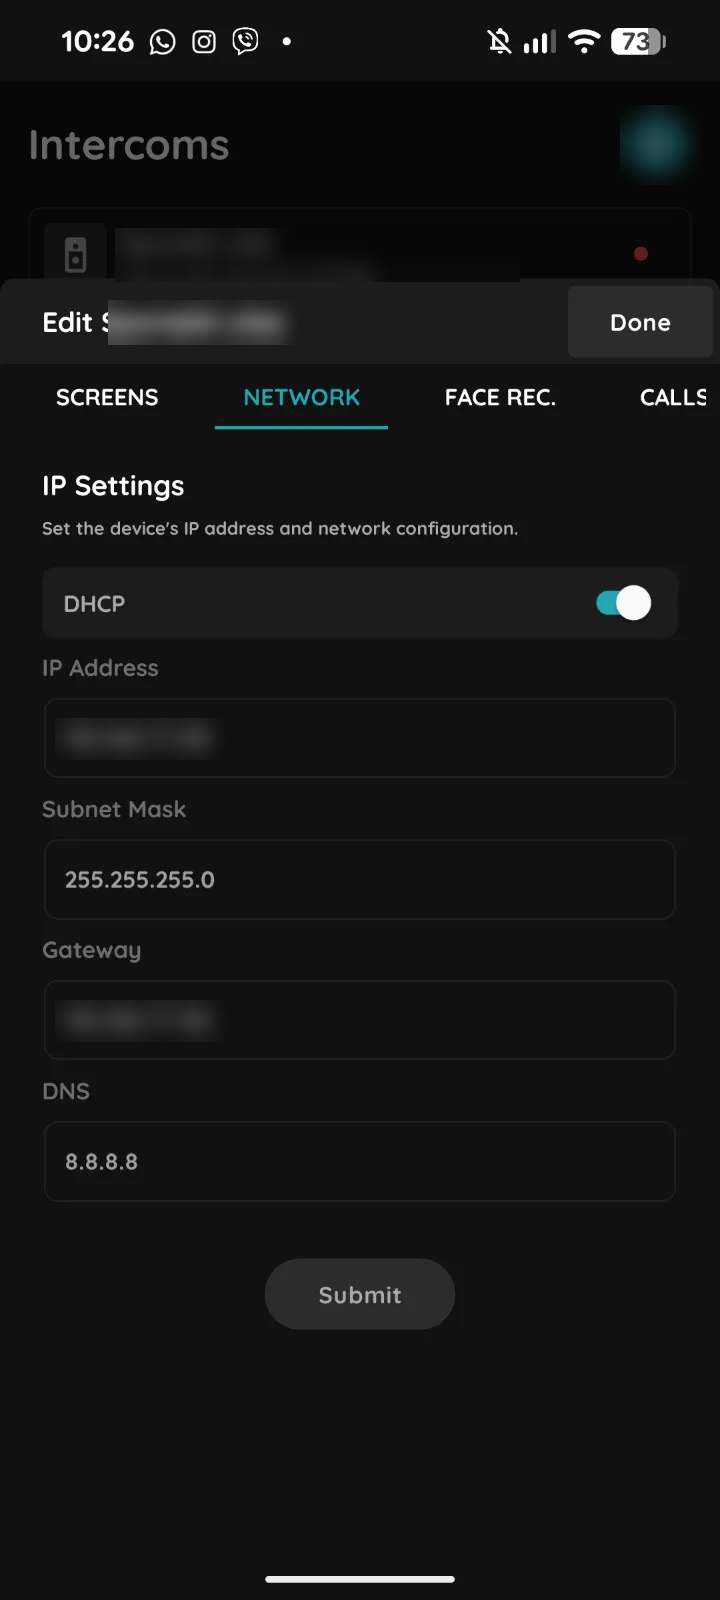
Sets the intercom's IP address. With DHCP on, the router assigns the address. Turn DHCP off to enter the IP Address, Subnet Mask, Gateway and DNS yourself. Tap Submit to save.
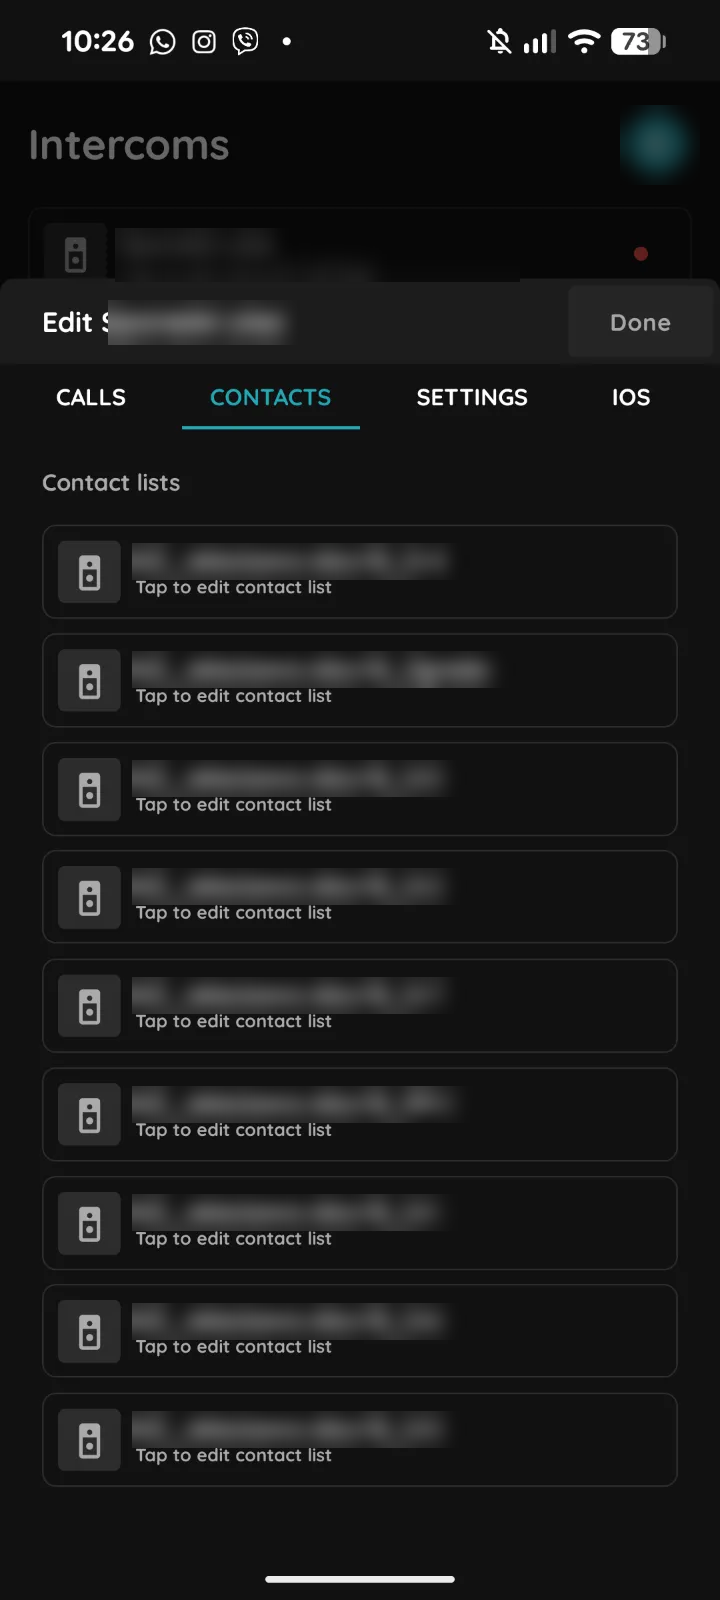
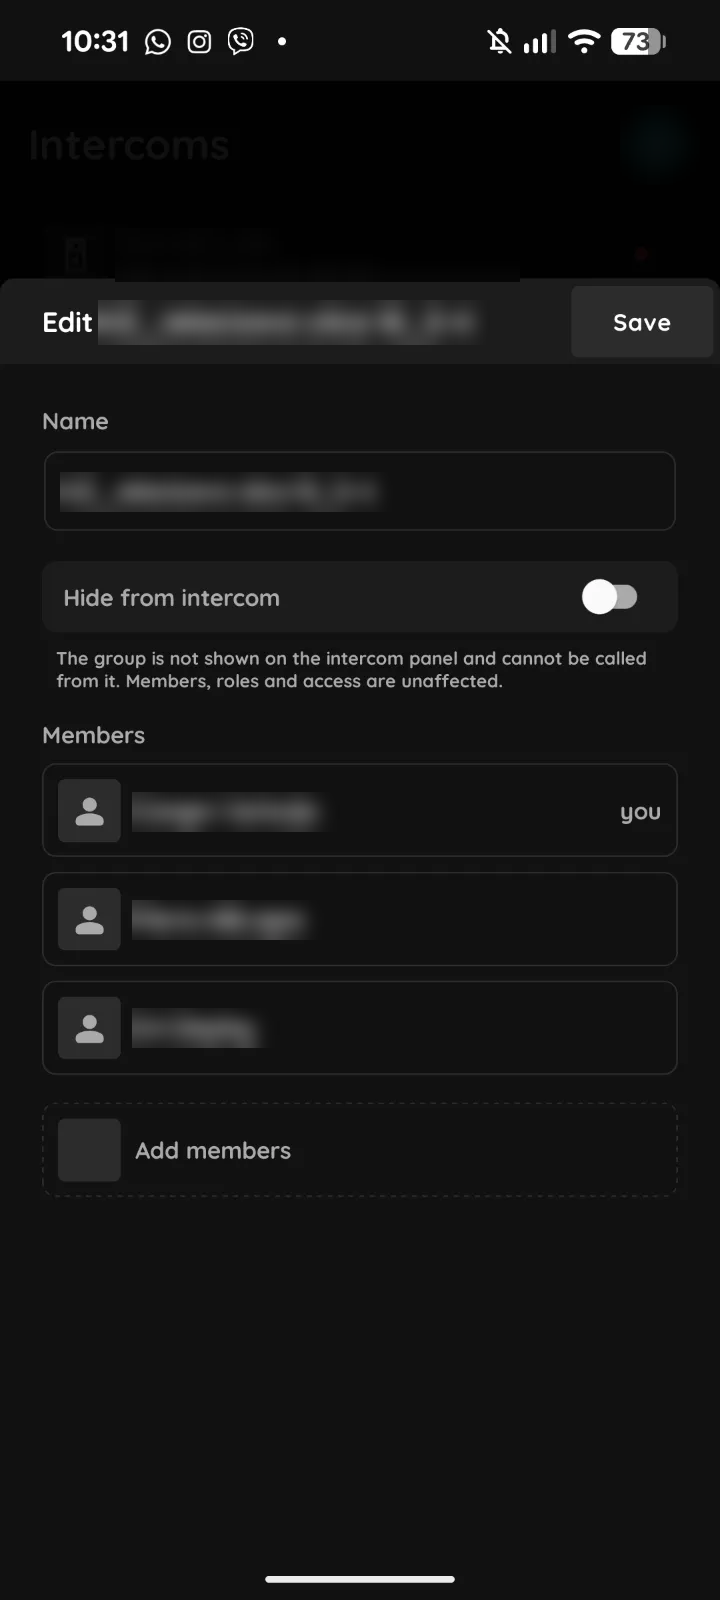
Lists the contact lists on the intercom. Tap a list to edit it.
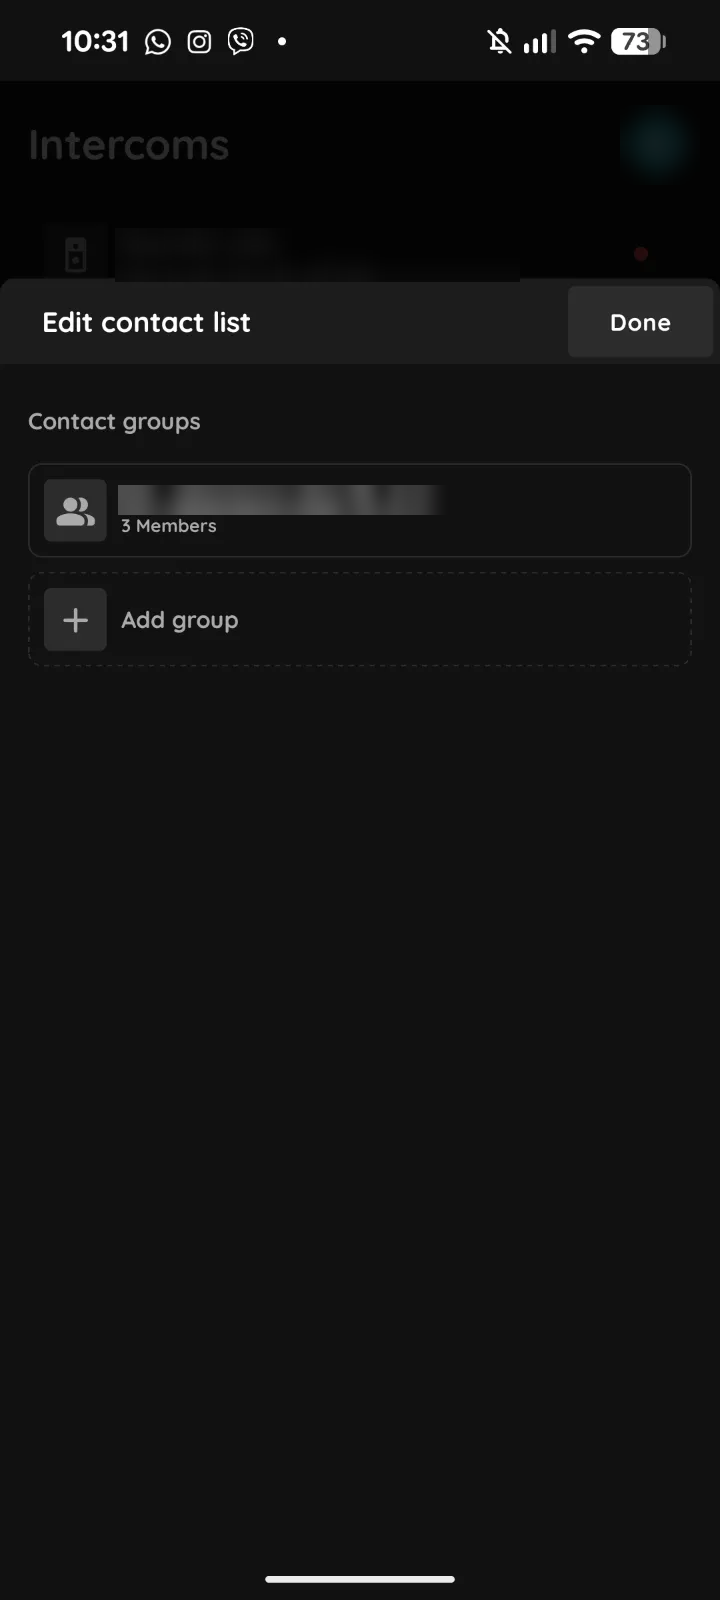
Shows the contact groups in the list and how many members each has. Tap a group to edit it, or tap Add group to create one.