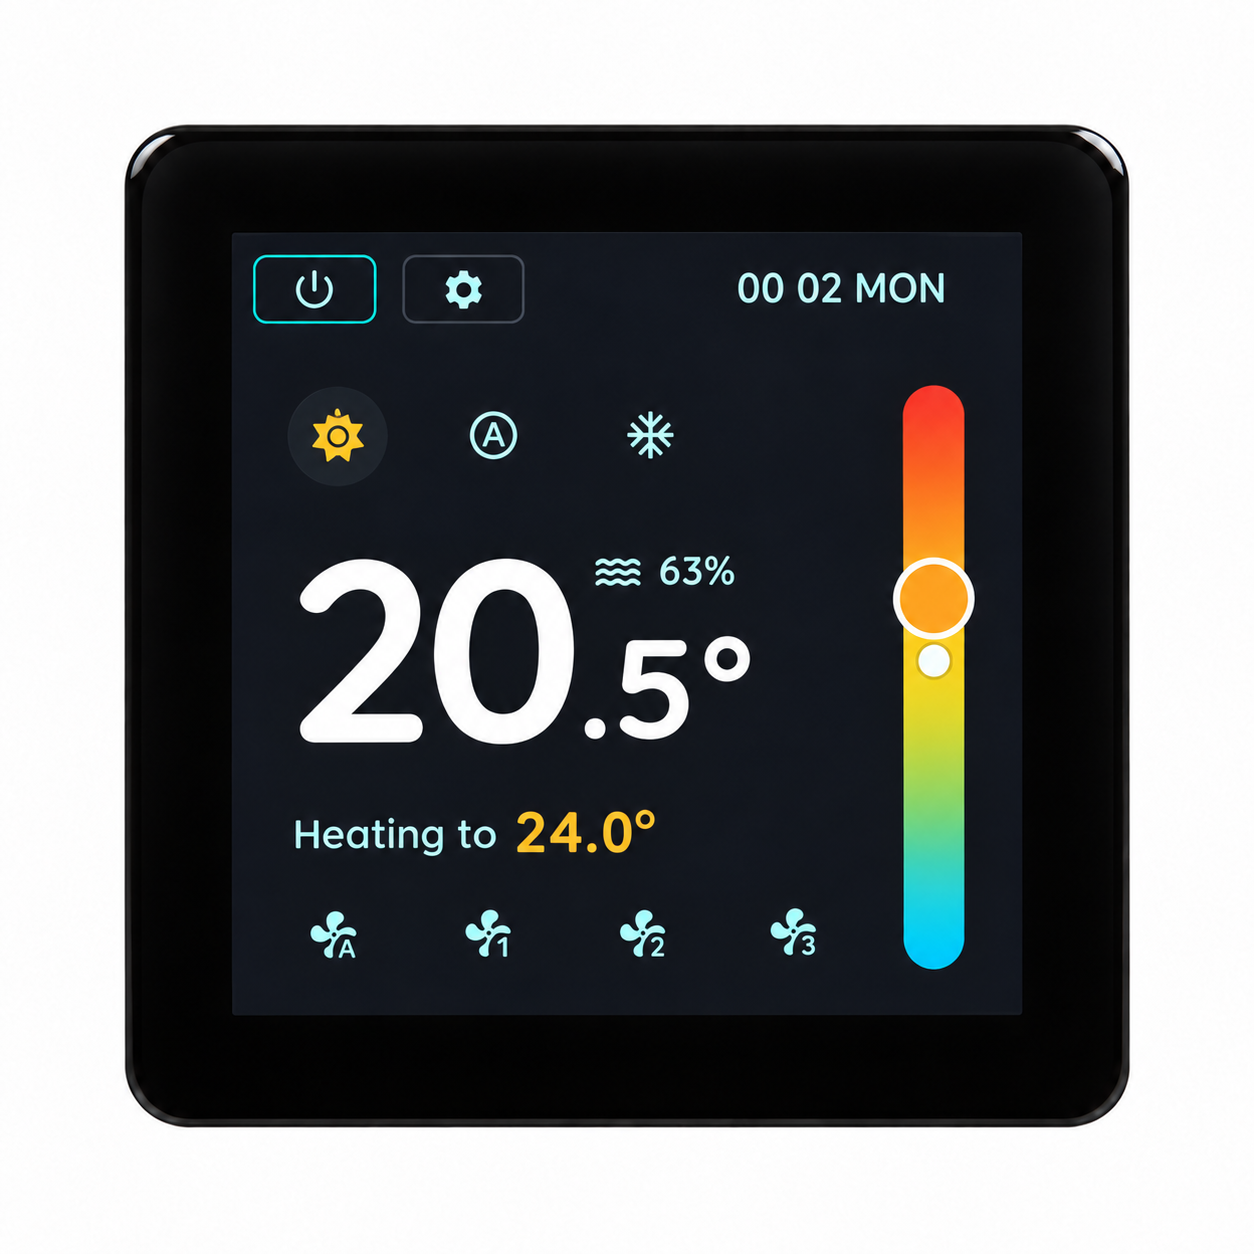
User Manual
PREORDER - PIERRE Thor - Dry Contact Touch 4” Thermostat 24V
SKU: PP-T-DC-24V
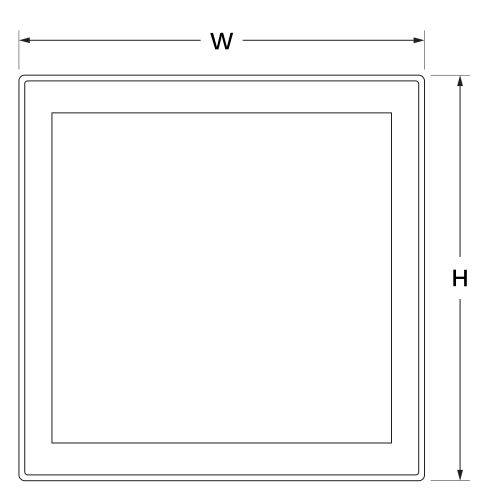
W - 86mm
H - 86mm
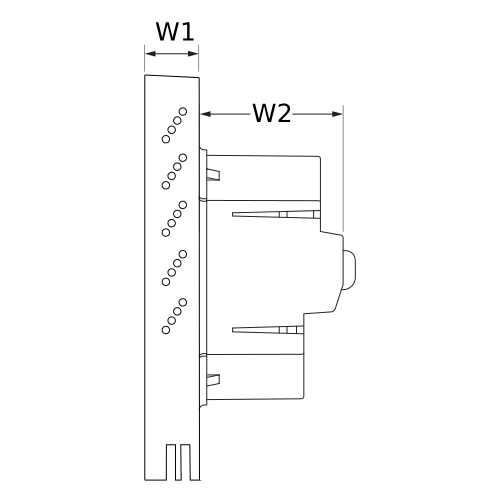
W1 - 11.5mm
W2 - 41.8mm
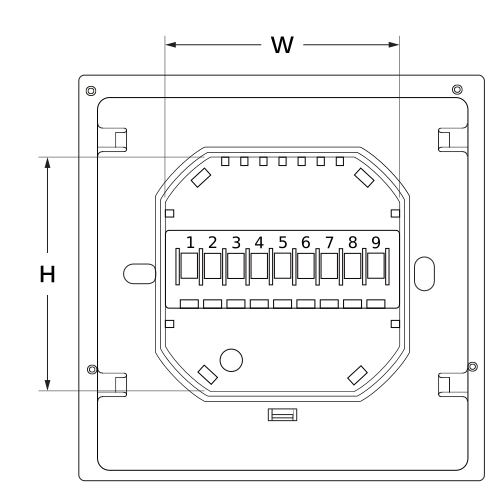
W - 50.3mm
H - 50.3mm
| CE Marking | Yes |
| RoHS Compliant | Yes |
| Warranty | 2 years |
| Relay Type | Dry Contact |
| Number of Channels | 2 channels |
| Touch Screen Dimension | 4 inch |
| Touch Screen Resolution | 480x480px pixels |
| Power Supply | 100-240V AC 50-60Hz |
| Power Consumption | 1.5 W |
| Width | 86 mm |
| Height | 86 mm |
| Depth | 53 mm |
| Panel Material | Tempered glass |
| Product Color | Black |
| Mounting Type | Flush mount |
| Mounting Box | 86x86x50mm |
| Connectivity | Zigbee, Modbus |
| Safety Features | Over voltage protection, Short circuit protection |
| Built-in Sensors | Temperature, Humidity |
| Operating Temperature (°C) | 0°C - +50°C |
| IP Rating | IP20 |
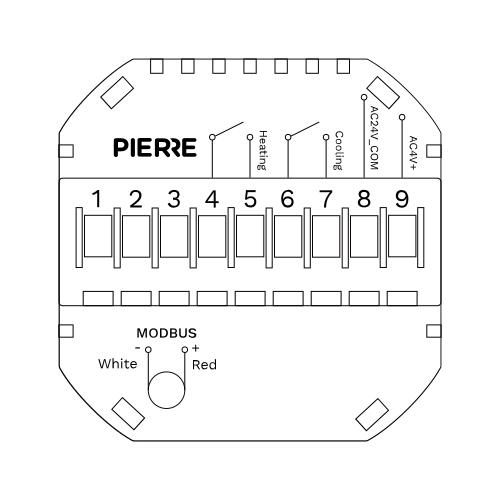
Underfloor Heating / Ceiling Cooling
This thermostat is suitable for installation in a standard 86 mm back box or a European 60 mm flush-mounted box.
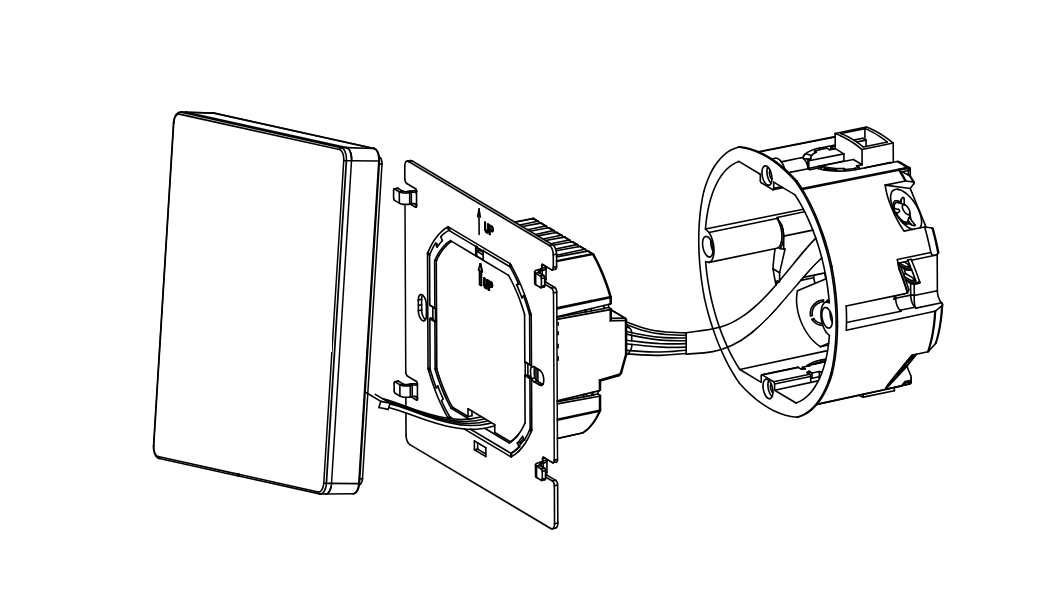
Accurately connect the power cable to the power terminal box
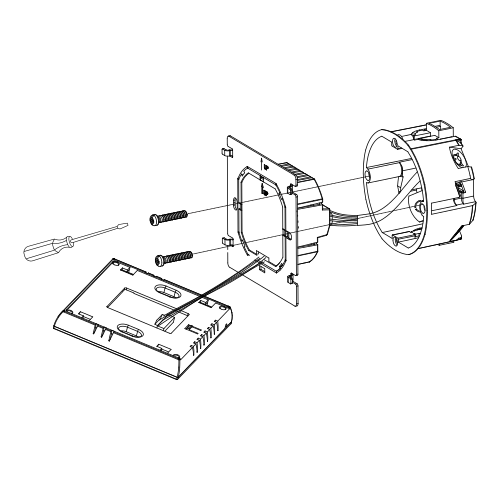
Fix the mounting plate on the cassette with a screwdriver through two screws
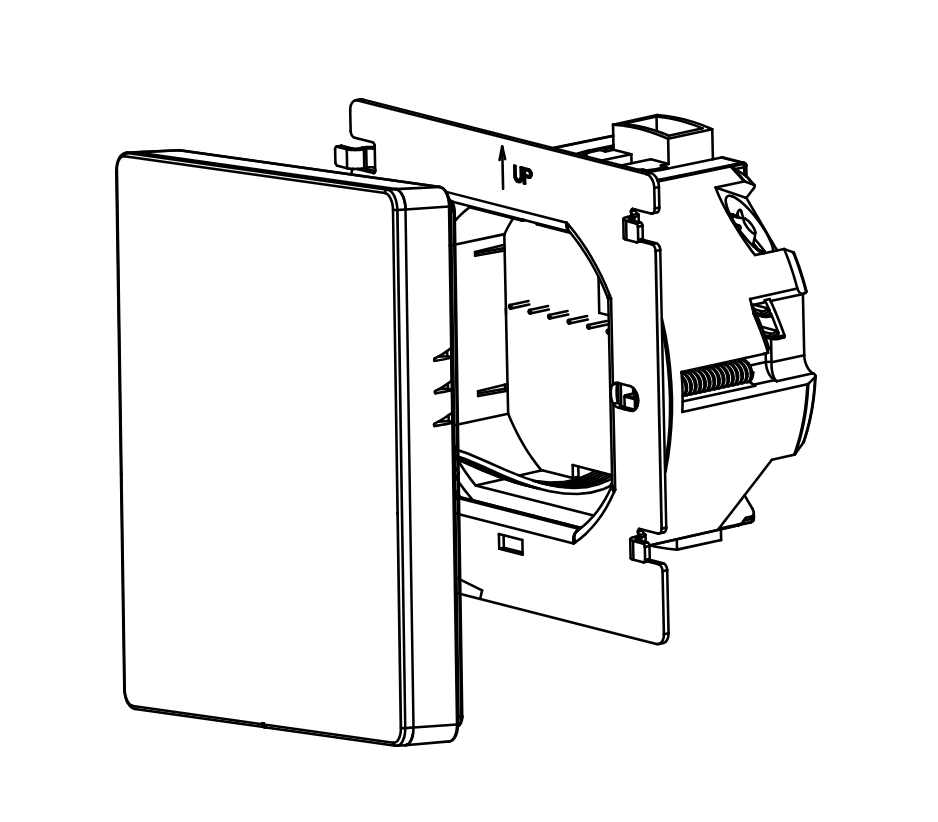
Hang the control panel onto the mounting plate
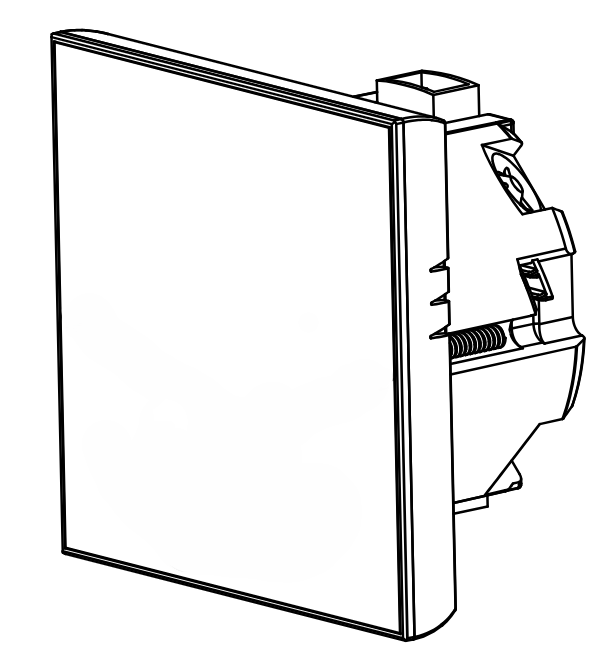
Installation is completed
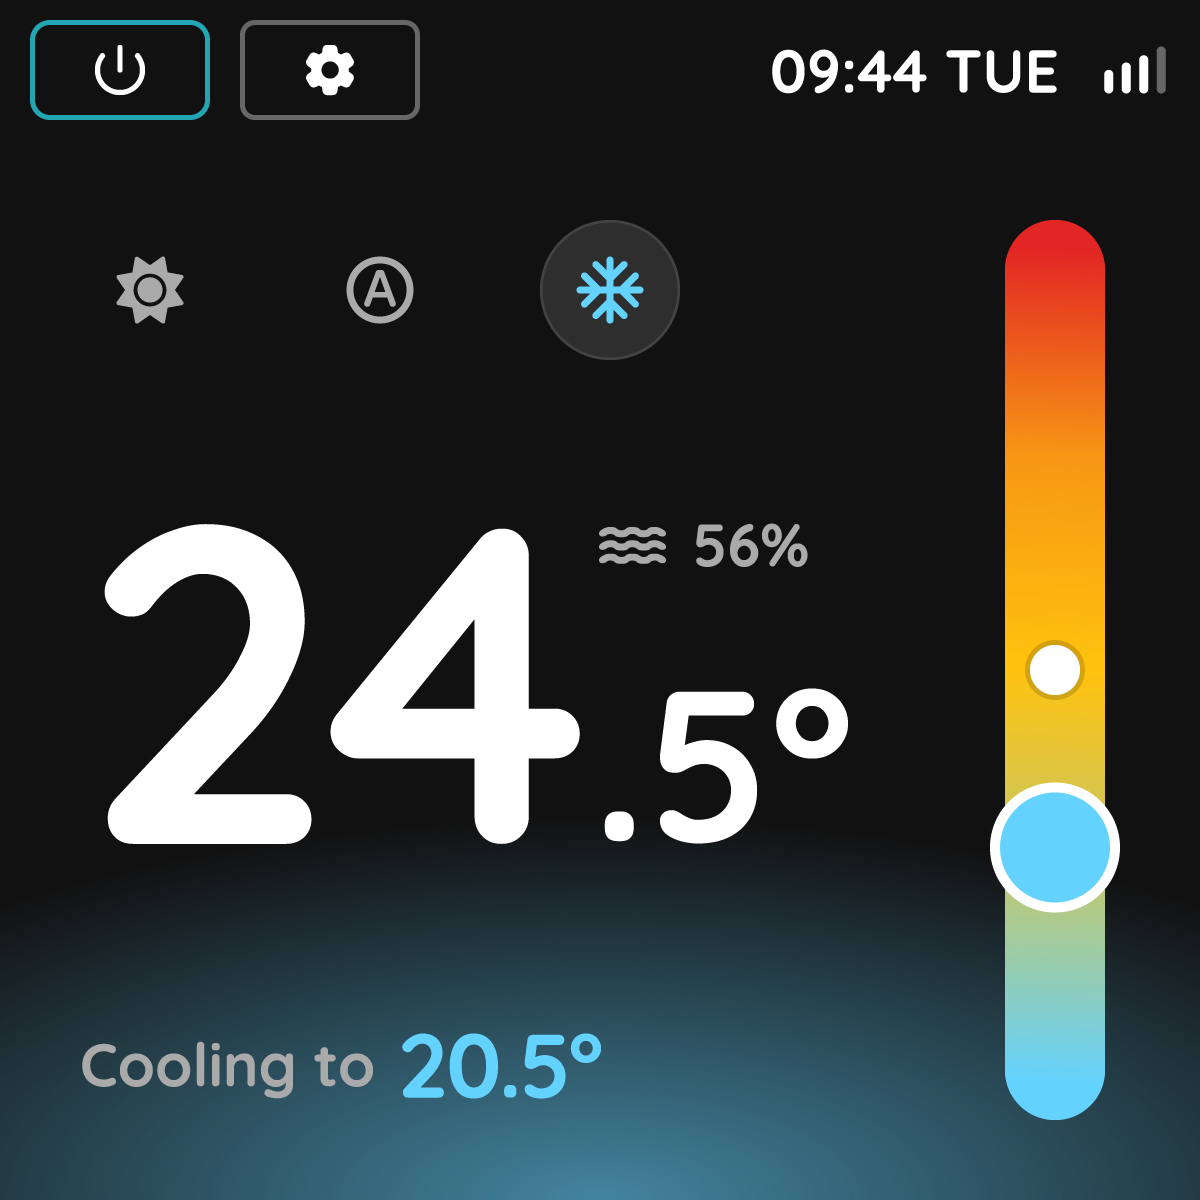
Dashboard and Settings
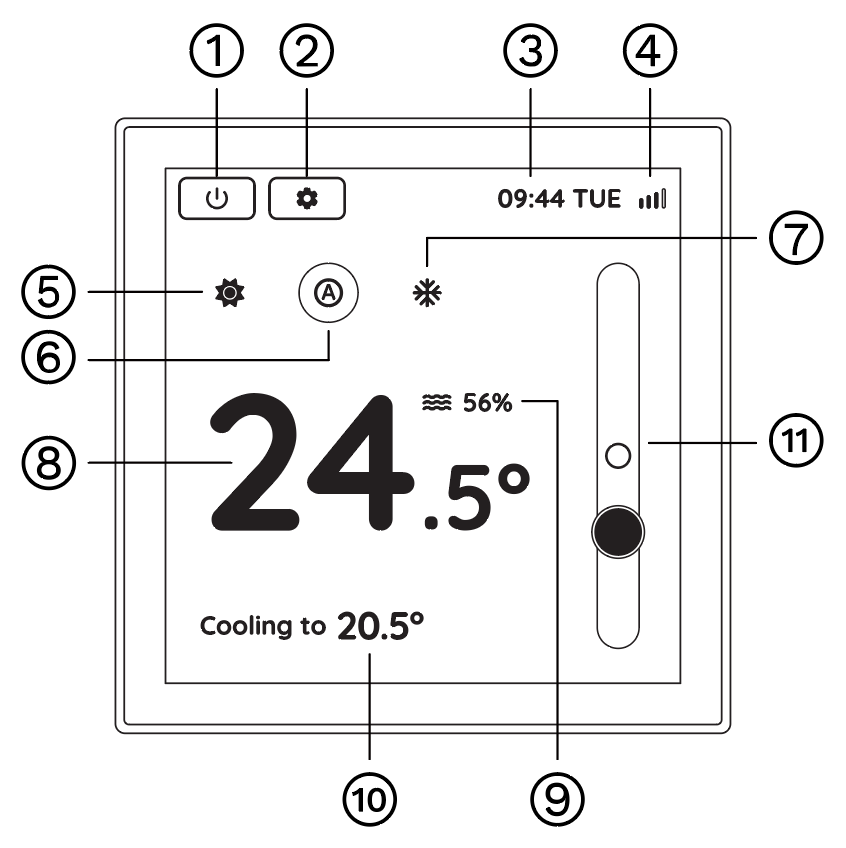
Press the ⚙️ to enter the Settings
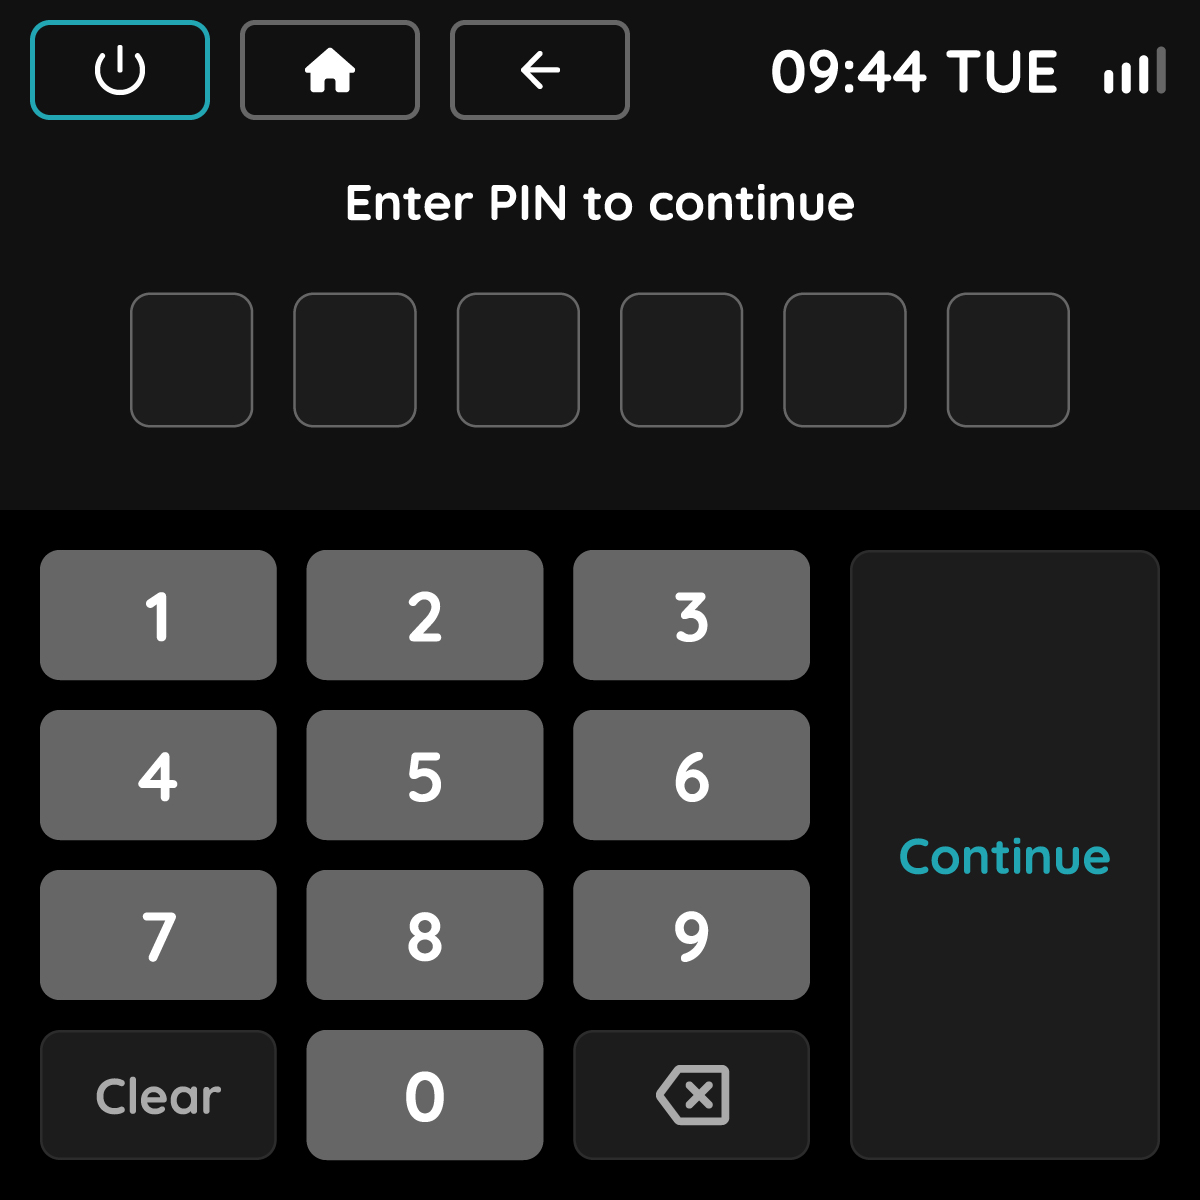
PIN Code
Enter the PIN code. The default code is: 692734
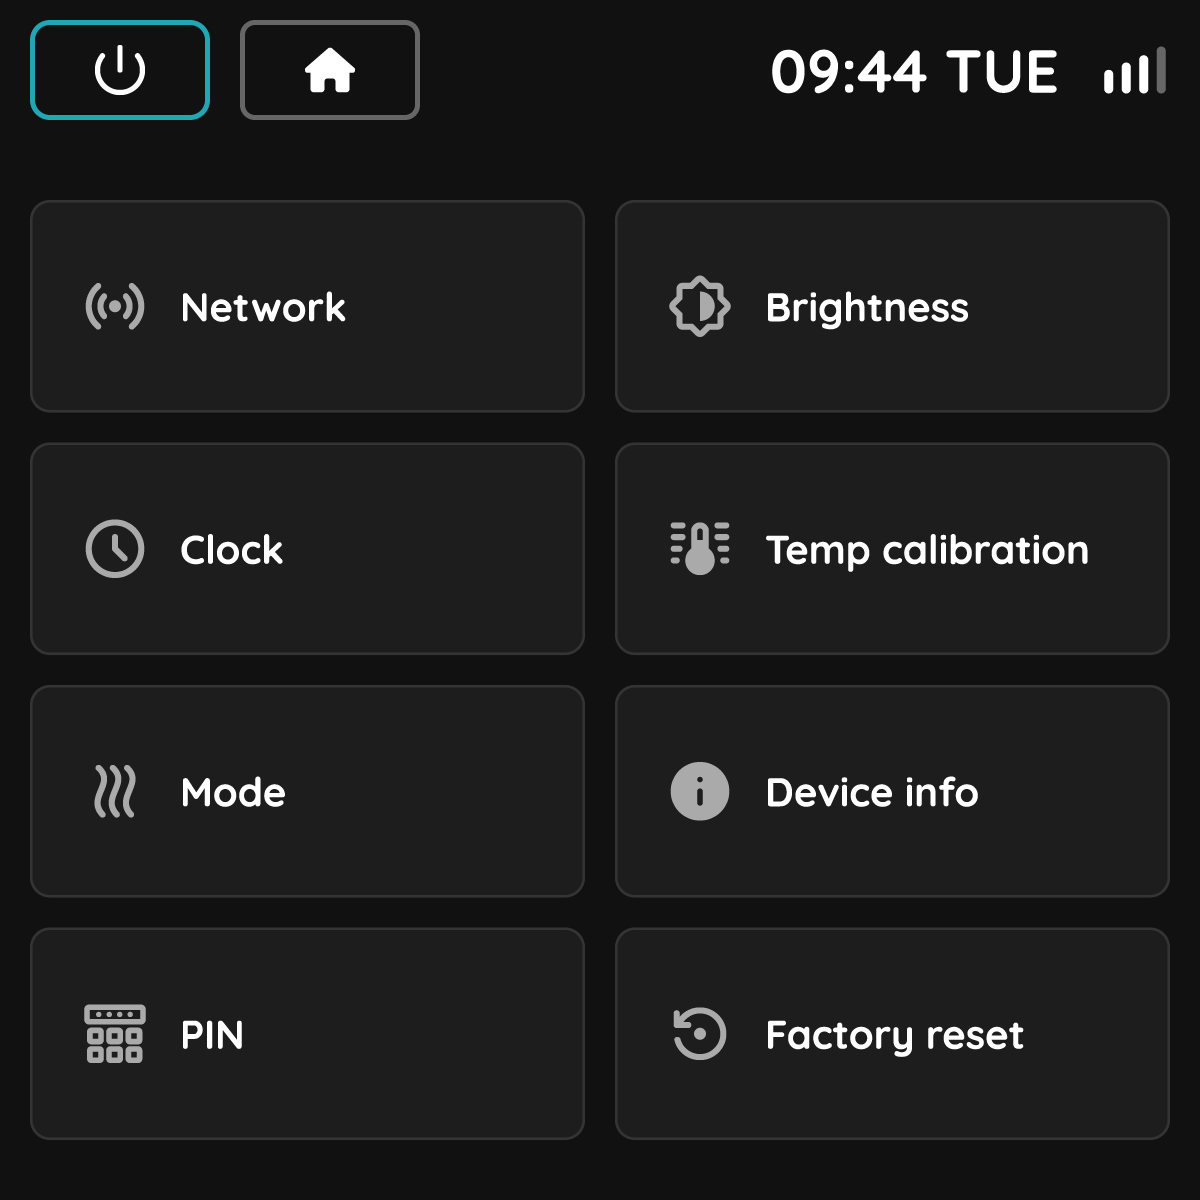
Settings Menu
Network – Add the thermostat to a PIERRE Wave network.
Clock – Manually set the date and time.
Mode – Configure the operating modes available to the end user.
PIN – Set or change the PIN code.
Brightness – Adjust the display brightness.
Temperature Calibration – Apply a temperature offset to calibrate the temperature sensor.
Device Information – Configure the minimum and maximum temperature limits, Modbus settings, and view device information.
Factory Reset – Restore the thermostat to its factory settings. The default PIN code will also be restored.
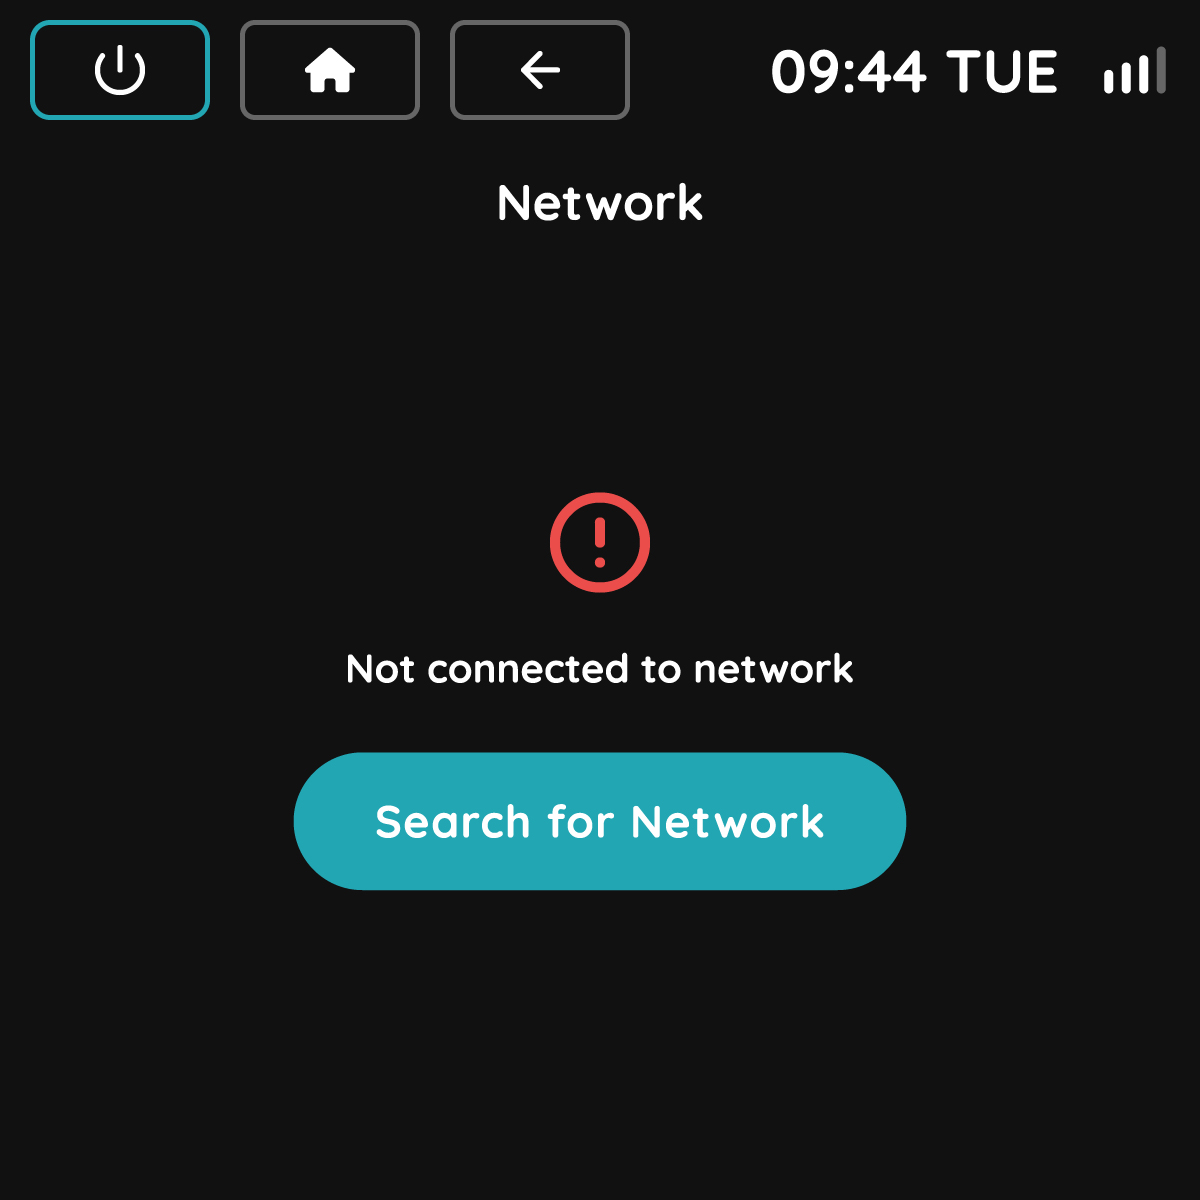
Pairing Mode
To add the thermostat to the PIERRE system, open the Network menu on the thermostat.
On the PIERRE Gateway, start the Add New Wave Device wizard. Then tap Search for Network on the thermostat.
Once the thermostat detects the network, follow the on-screen instructions to complete the pairing process.
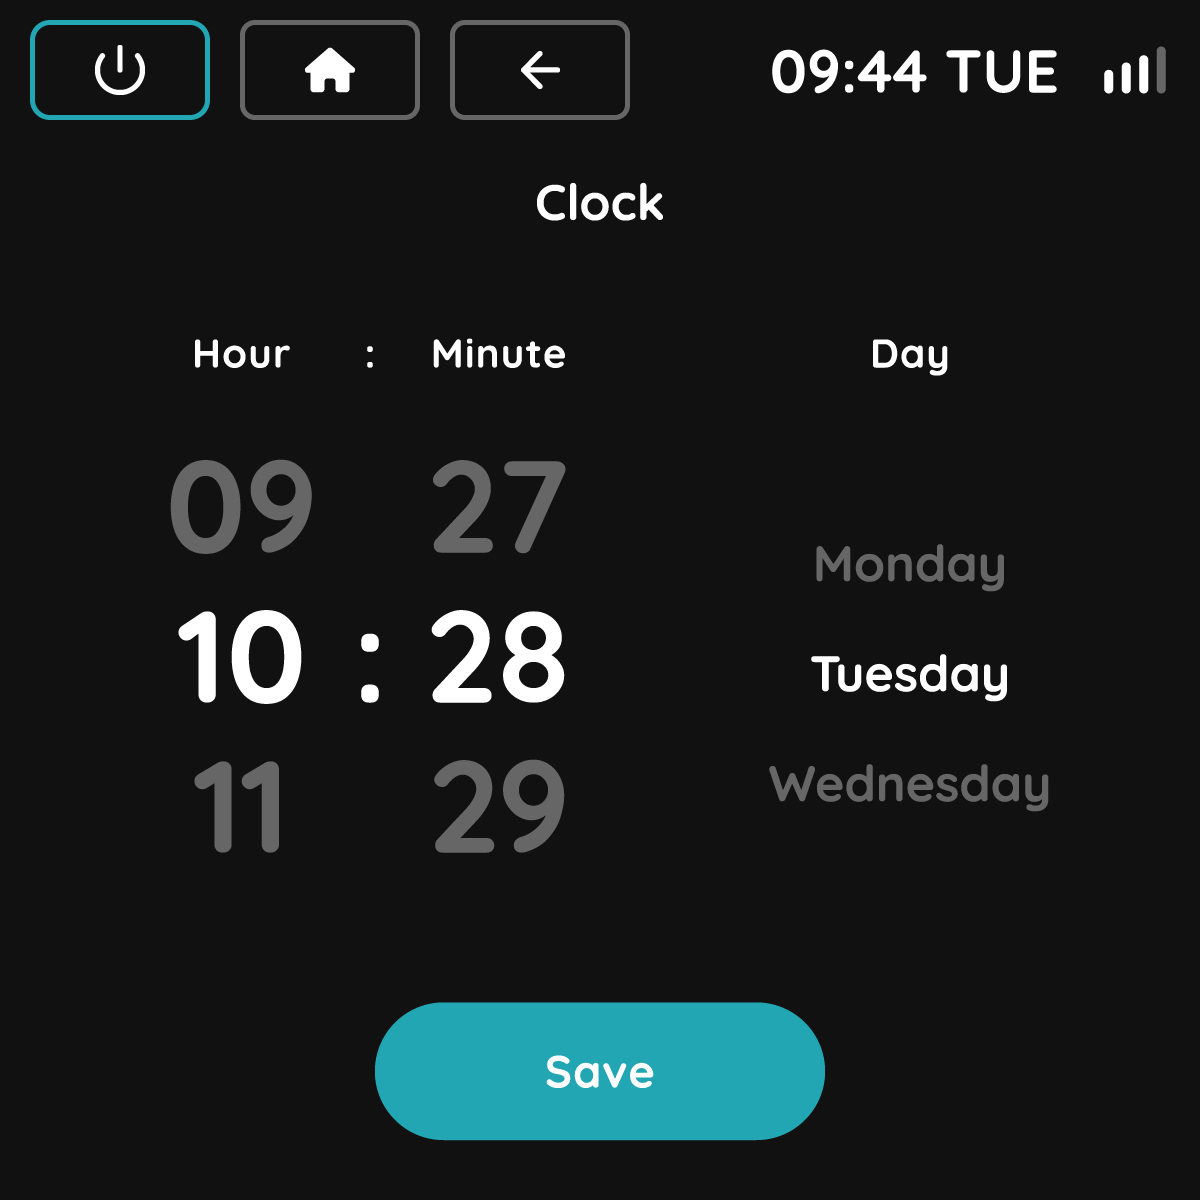
Time Settings
Adjust the time settings manually.
Once the thermostat is connected to the PIERRE Gateway, the date and time will be synchronized automatically.
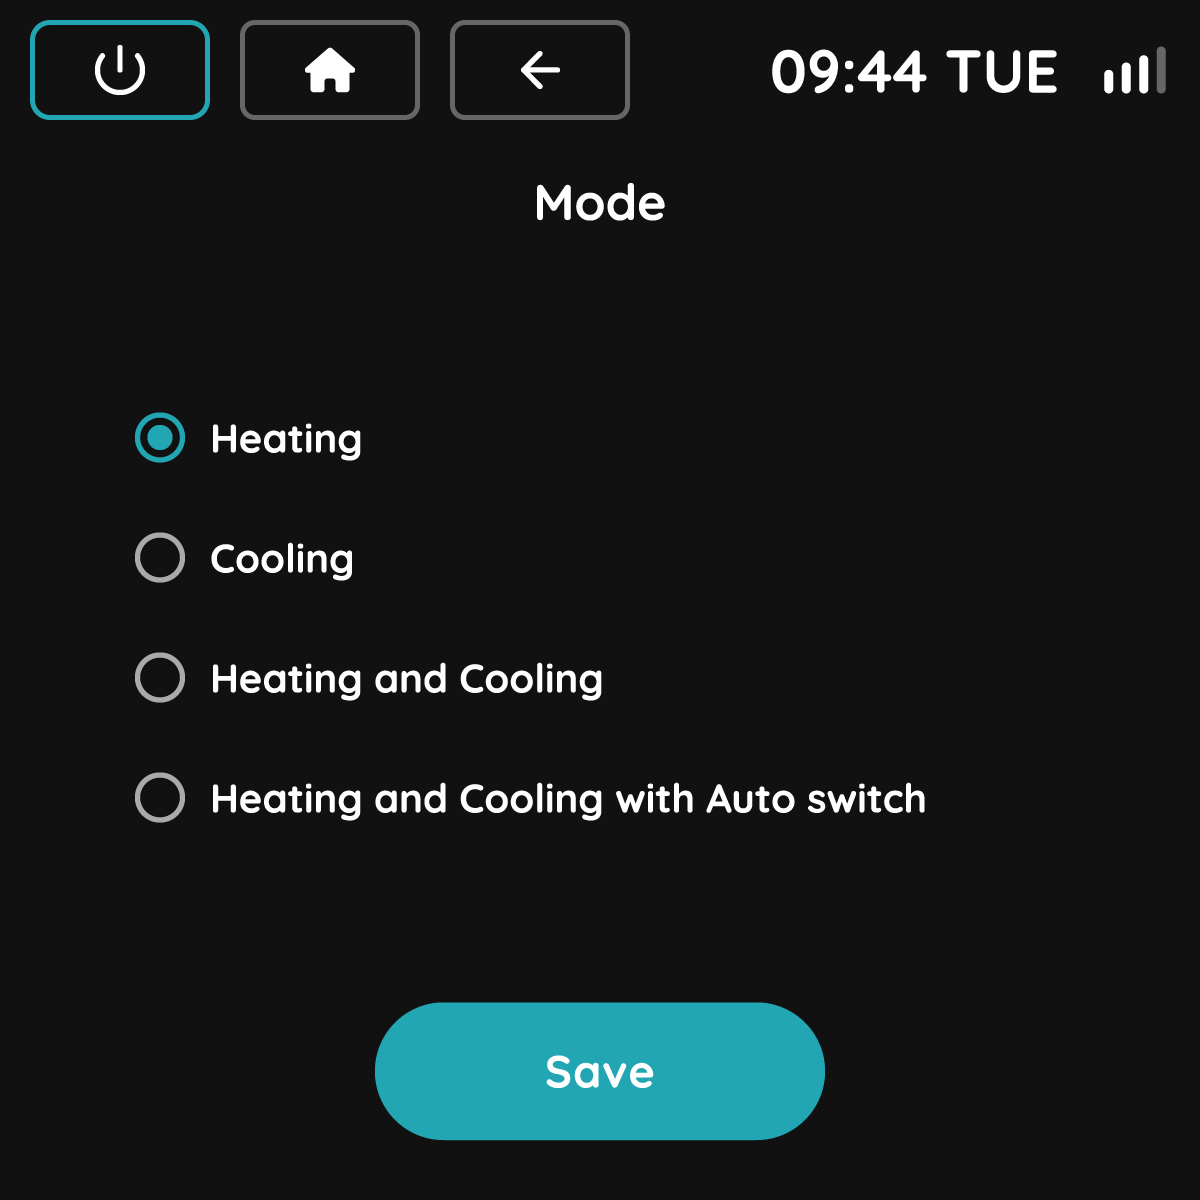
Operating Modes
Select the operating modes that will be available on the thermostat.
Heating – Heating only.
Cooling – Cooling only.
Heating and Cooling – Allows manual switching between Heating and Cooling modes.
Heating and Cooling with Auto Switch – Automatically switches between Heating and Cooling based on the configured temperature settings.
Select which operating modes are available to the user on the thermostat.
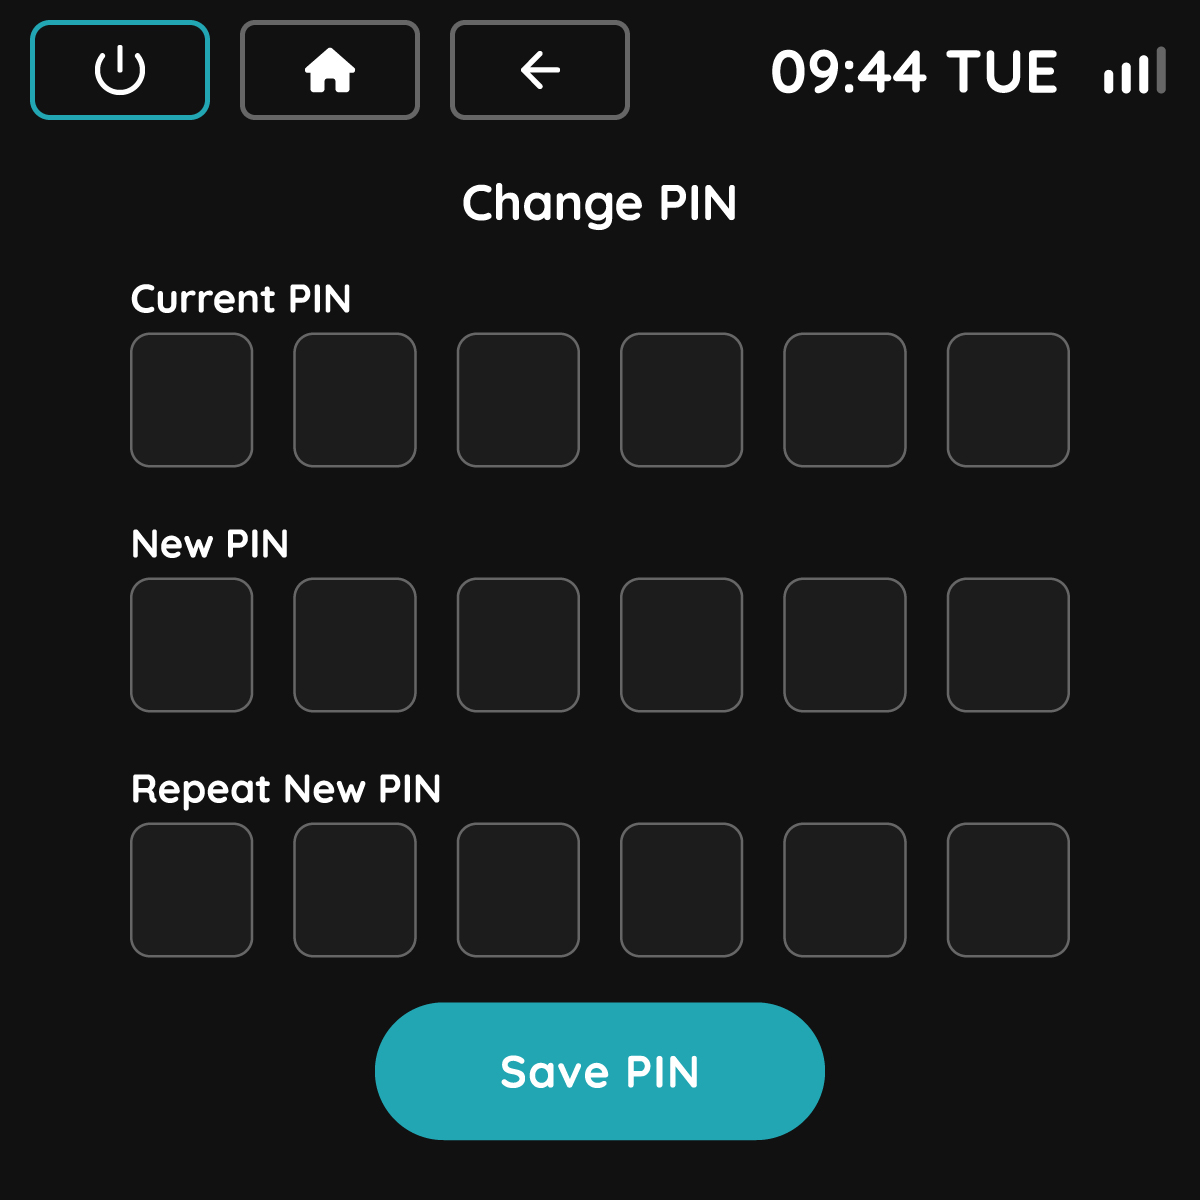
Change PIN Code
Change the access PIN code.
Enter the current PIN code, then enter the new PIN code twice to confirm it.
Note: The default administrator PIN code will always remain valid and can always be used to access the settings.
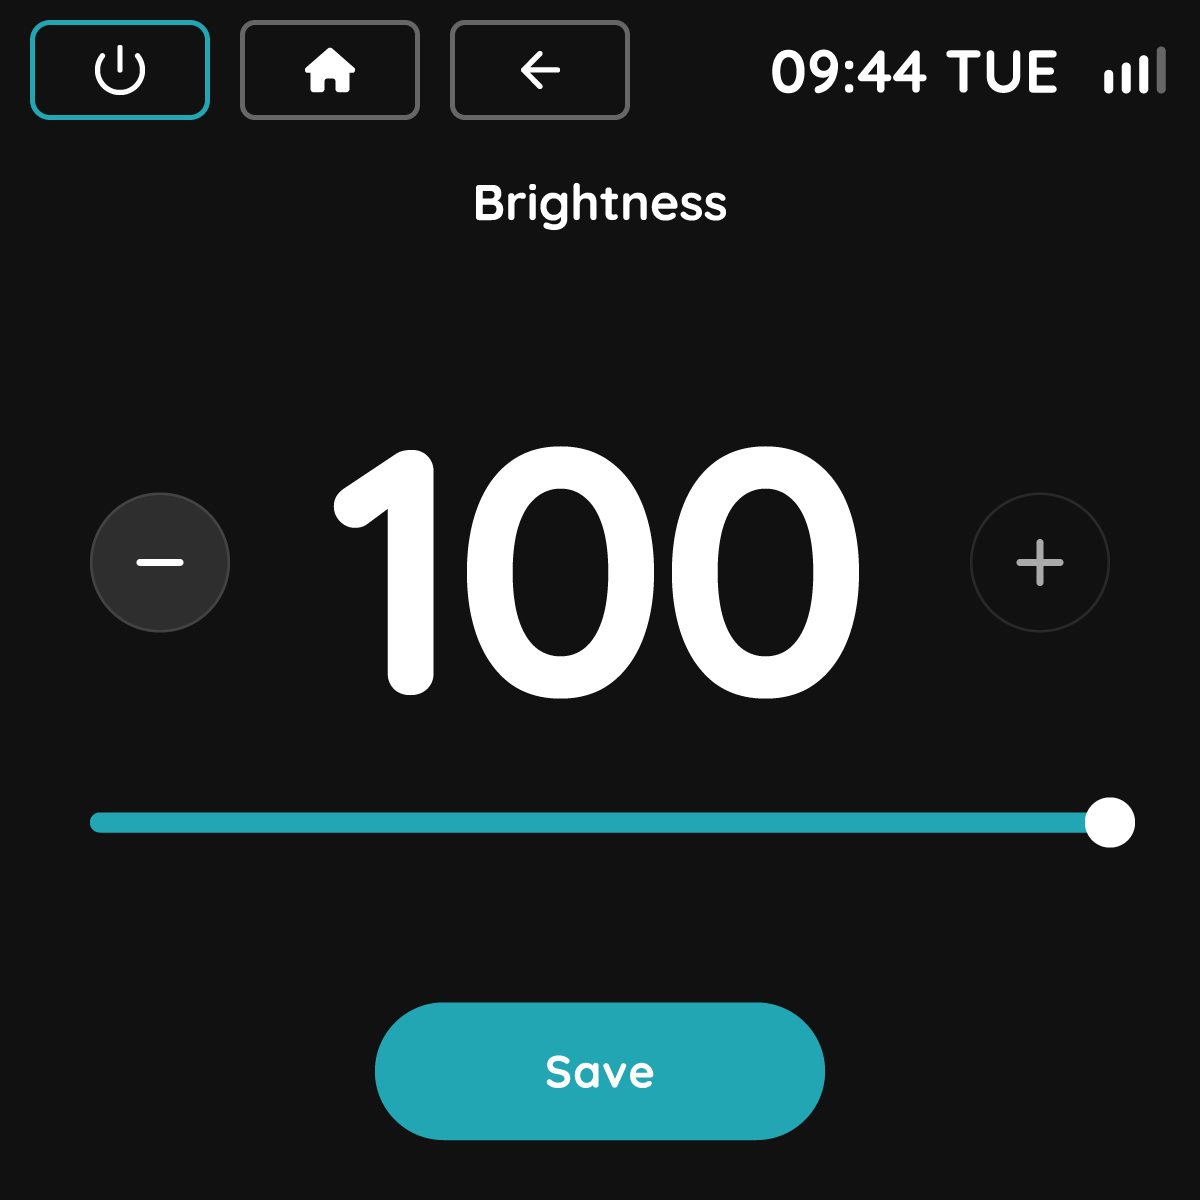
Brightness
Adjust the thermostat display brightness.
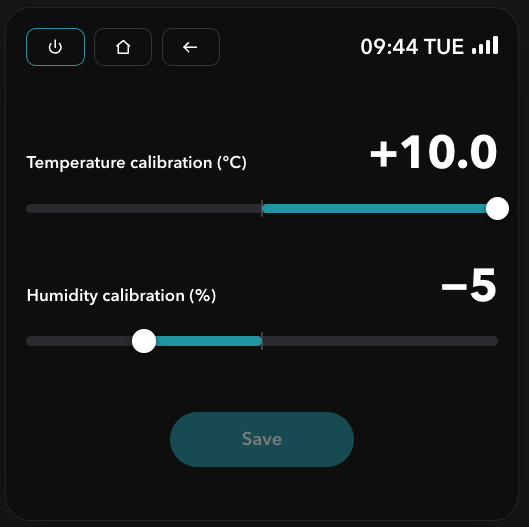
Temperature and Humidity Offsets
Set the temperature and humidity offsets to calibrate the thermostat's temperature and humidity readings.
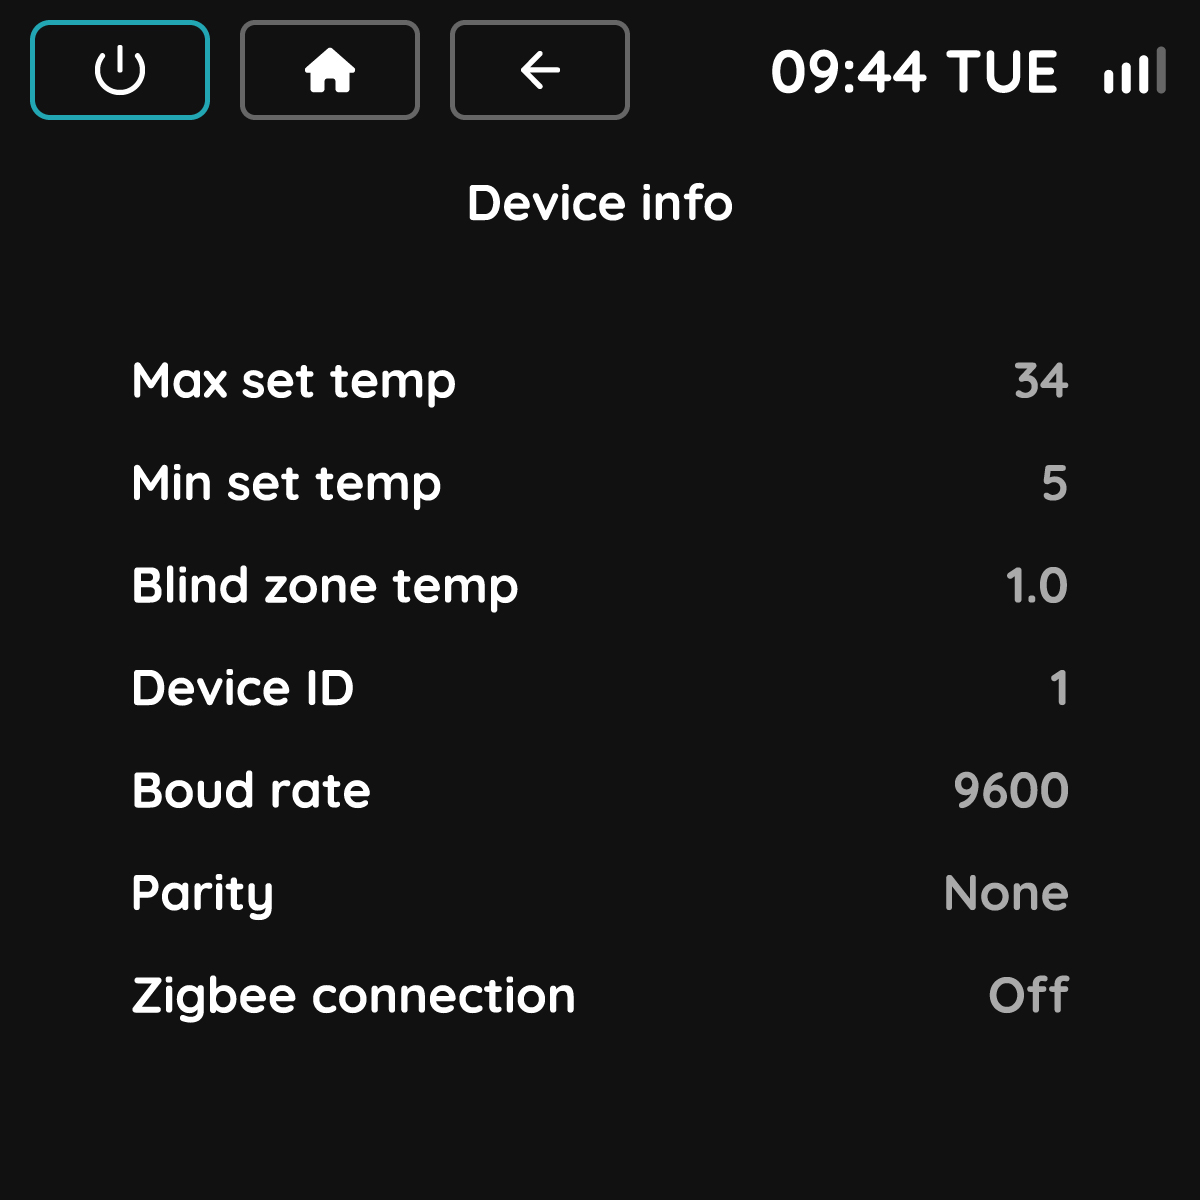
Device Info
Max Set Temp – Set the maximum temperature that can be selected on the thermostat.
Min Set Temp – Set the minimum temperature that can be selected on the thermostat.
Blind Zone Temp – Set the temperature hysteresis (deadband) used for temperature regulation.
Device ID – Set the Modbus address of the thermostat.
Baud Rate – Set the baud rate for Modbus communication.
Parity – Set the parity for Modbus communication.
Zigbee Connection – Indicates whether the thermostat is connected to the PIERRE Wave Gateway.