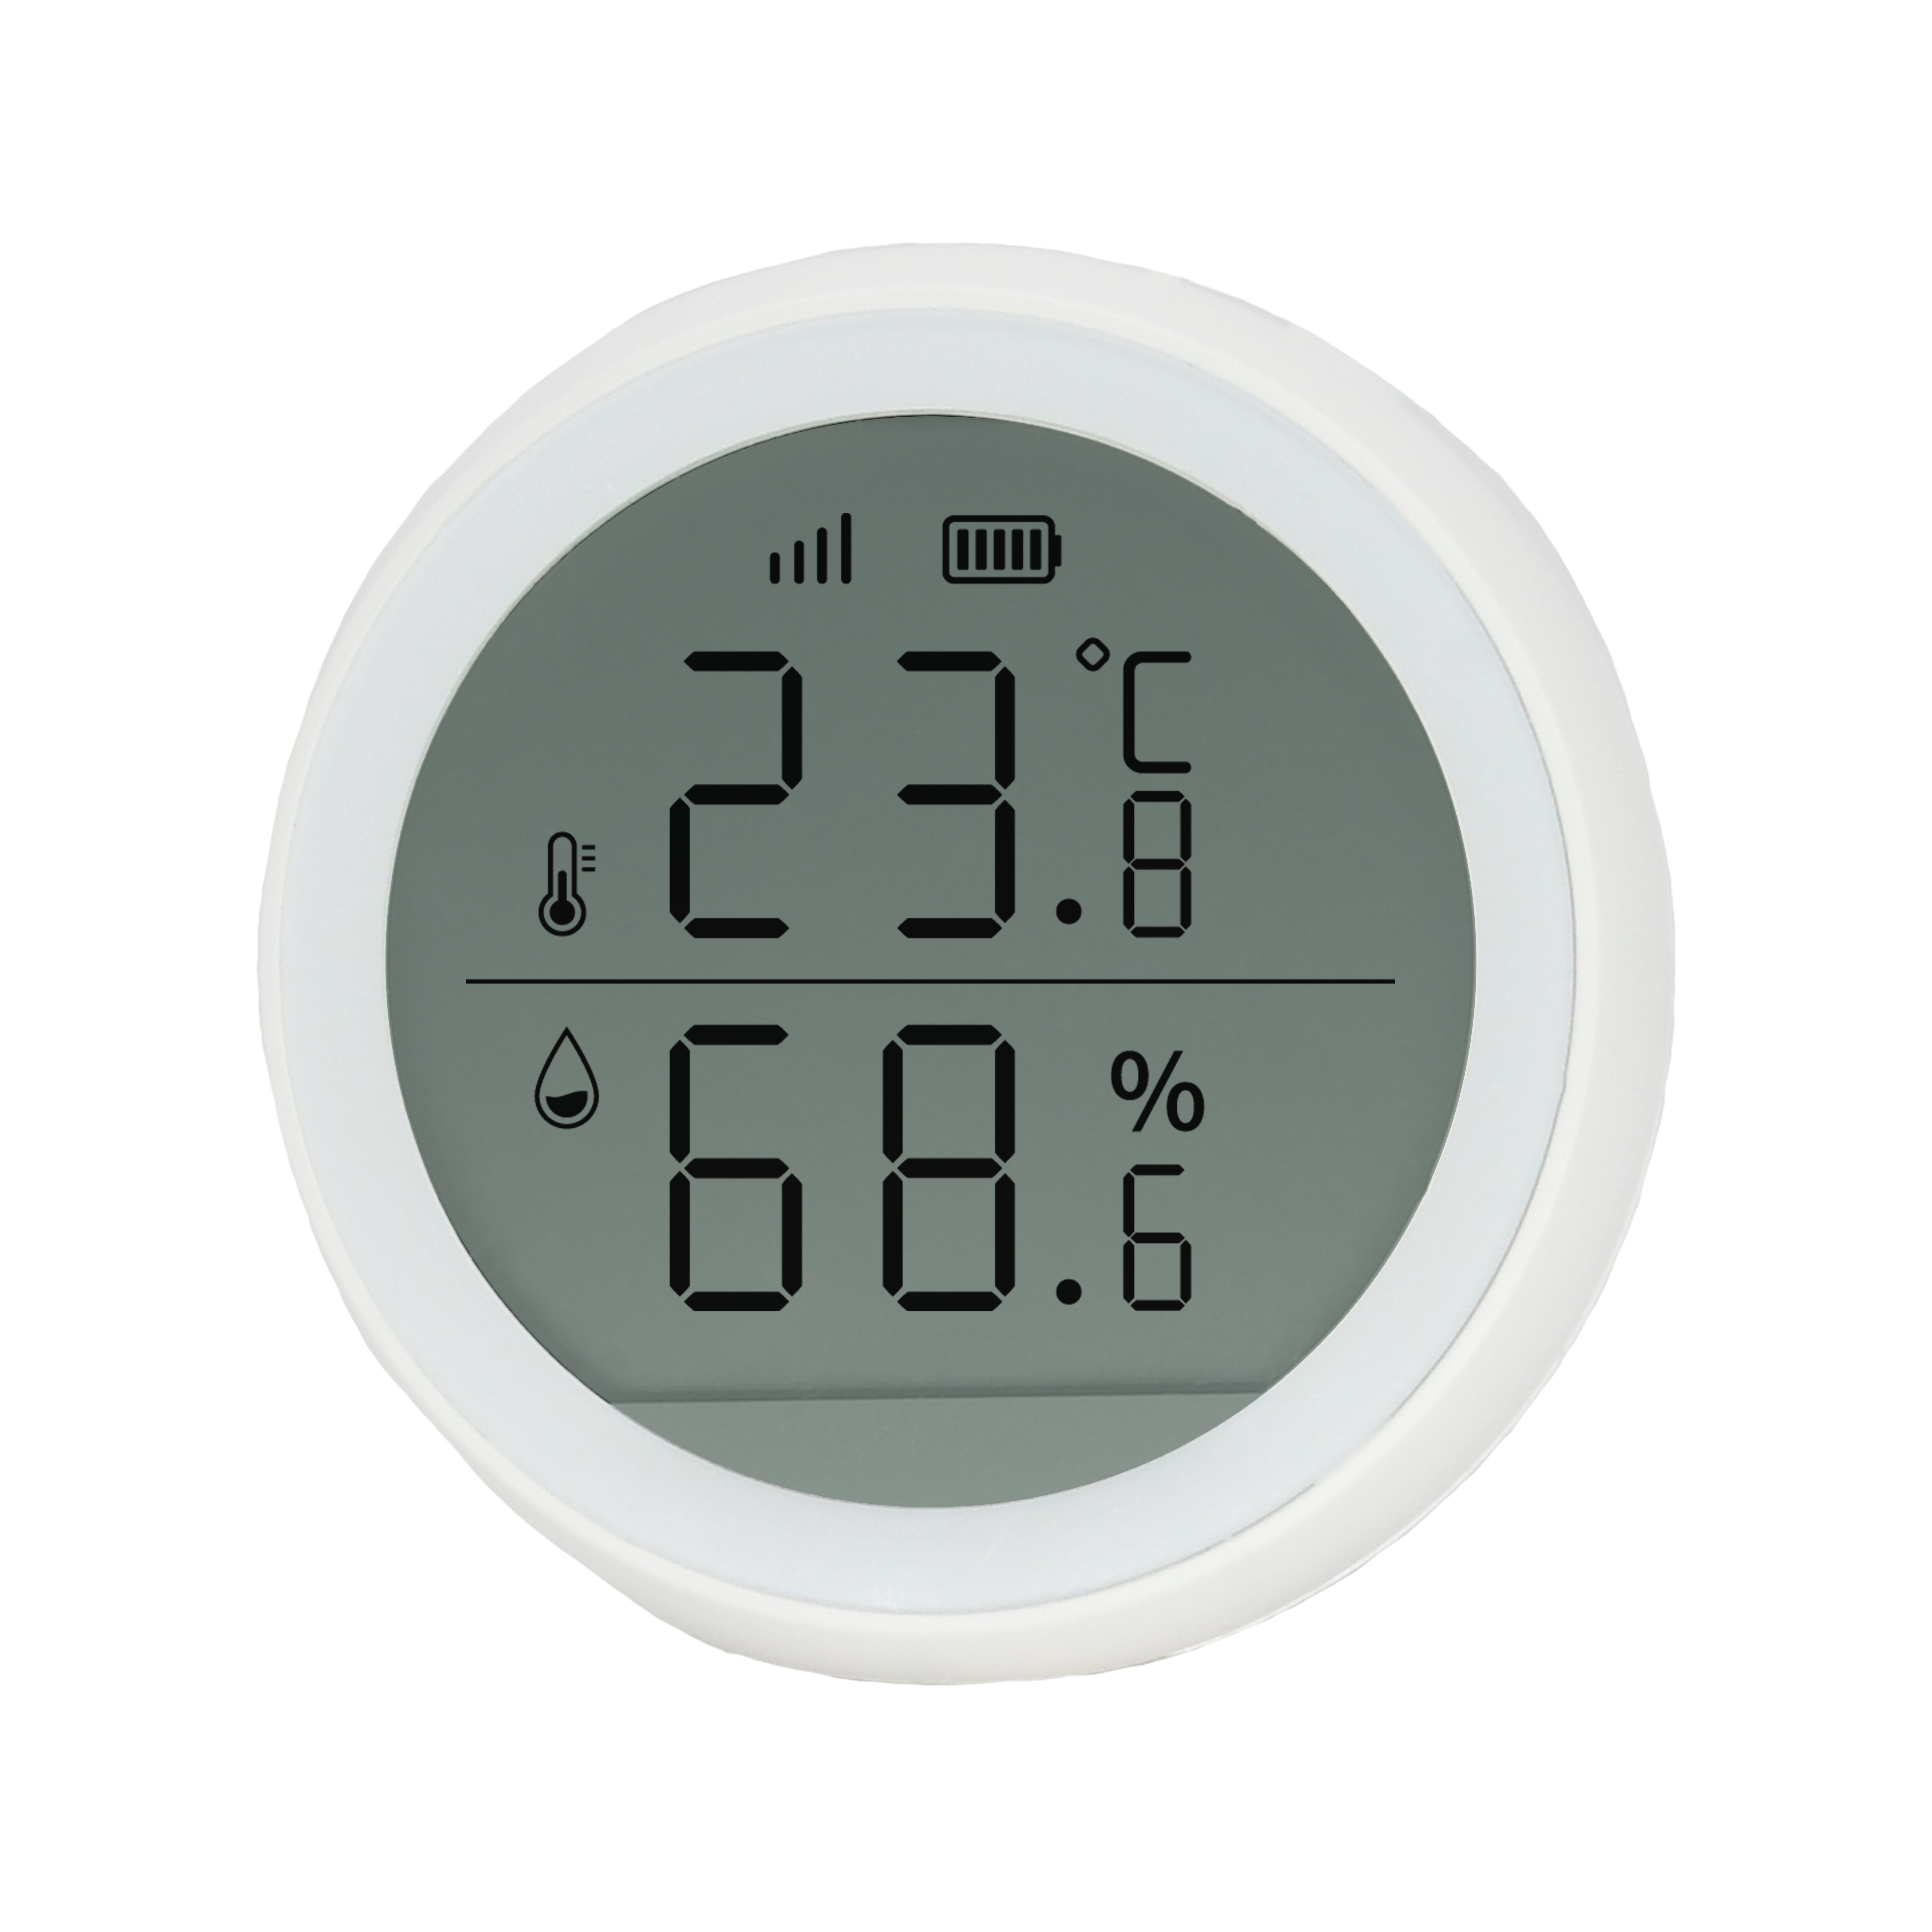
User Manual
Temperature and Humidity Sensor (with Display)
SKU: PW-SNS-TEMP2
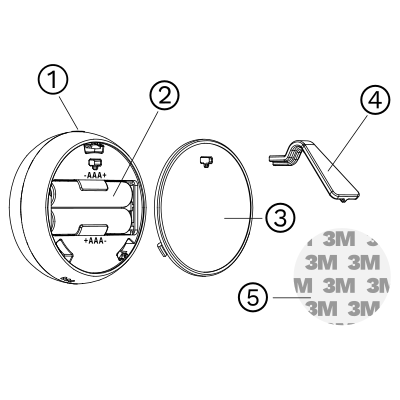
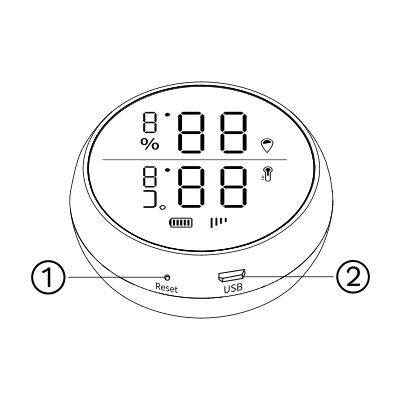
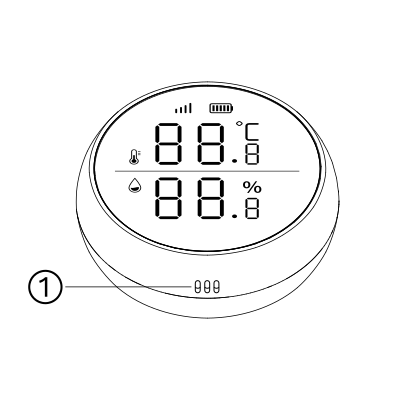
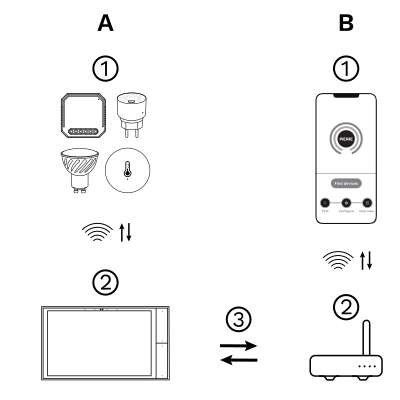
The PIERRE Wave (Zigbee 3.0, 2.4 GHz) system consists of the following components.
Required
Optional
Operation: the gateway connects to the router by Wi-Fi or LAN. PIERRE Wave products communicate wirelessly with the gateway in both directions: commands are sent and status updates are received through the Smart PIERRE app.
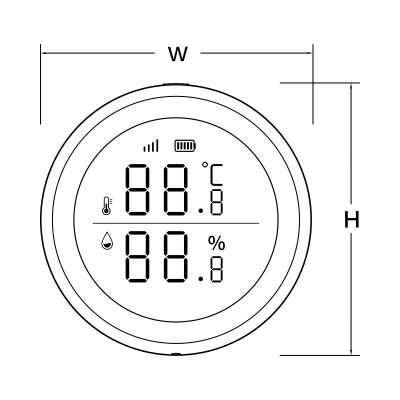
| Power Supply | DC 3V |
| Operating Temperature | +14°F - +104°F |
| Operating Temperature (°C) | -10 - +50 |
| Operating Humidity | 0 - 99 % RH |
| Connectivity | Zigbee |
| Safety Features | Battery low cut-off, Thermal protection, Anti-flammable housing, Electrostatic protection |
| Built-in Sensors | Temperature, Humidity |
| Low Battery Indication | Yes |
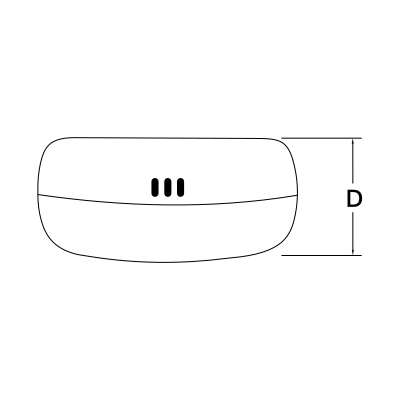
| Panel Material | ABS+PC material |
| Product Color | White |
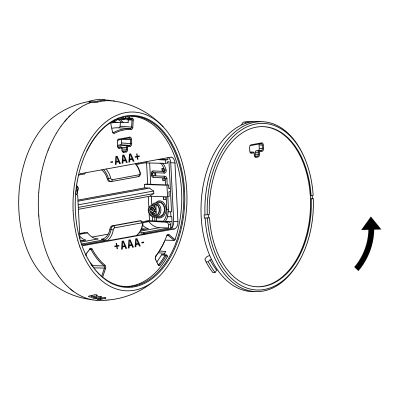
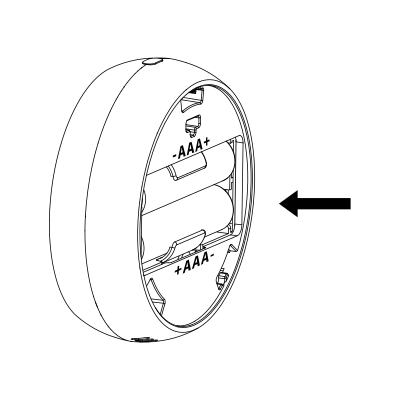
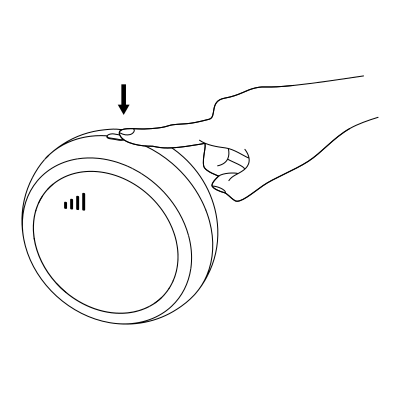
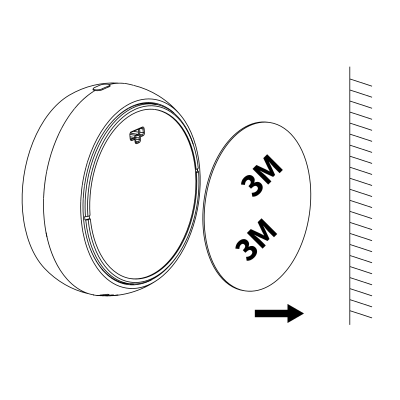
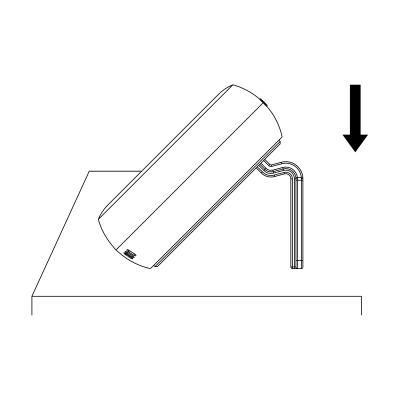
There are two methods for installation:
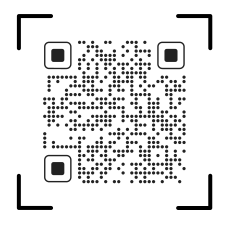
Please scan the QR code to download PIERRE application
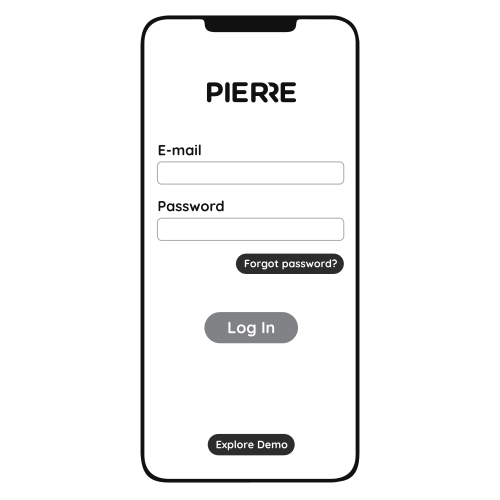
Log in with your Username and Password
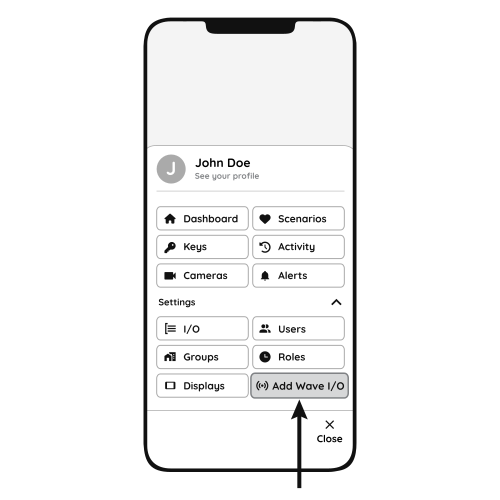
Open Settings and press "Add Wave I/O"
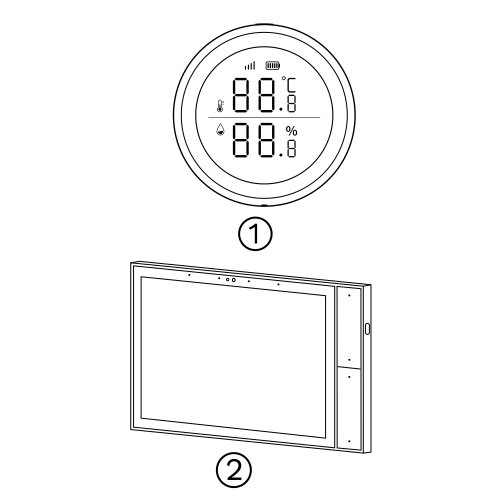
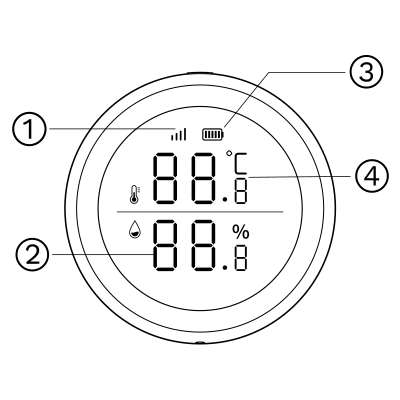
Press and hold the Reset button for 5 to 10 seconds. When the signal icon on the display starts flashing rapidly, release the button. Do not hold it longer than 10 seconds, otherwise pairing is cancelled.
Pairing mode lasts 20 seconds; the signal icon keeps flashing during this time. When pairing succeeds the signal icon stays on; if it fails the icon disappears. Repeat the reset if needed.
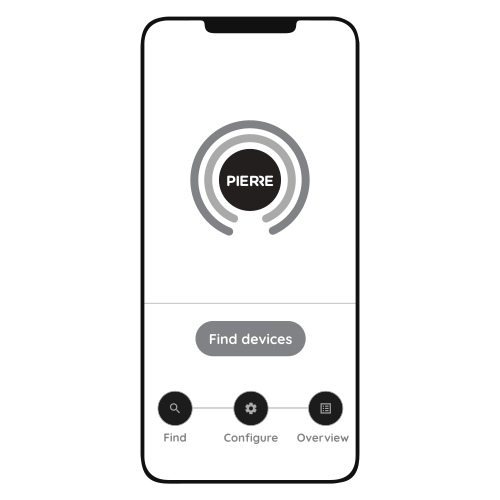
Press "Find Devices"
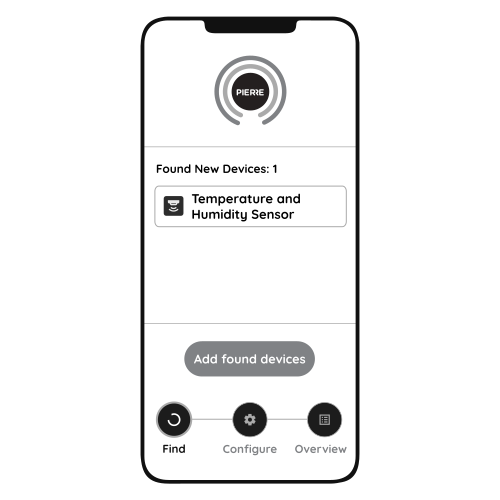
PIERRE application will show the list of available devices. Press "Add found devices"
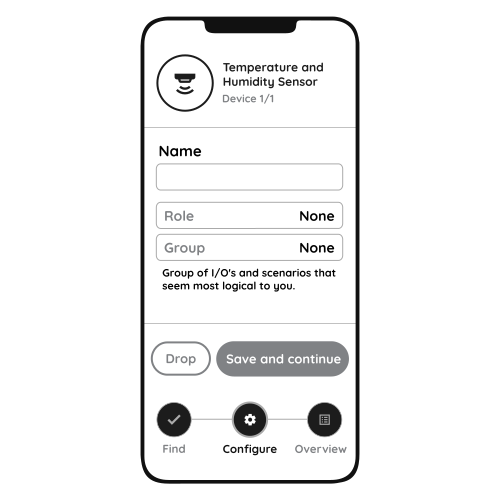
Enter Name, Role and Group settings and Save it
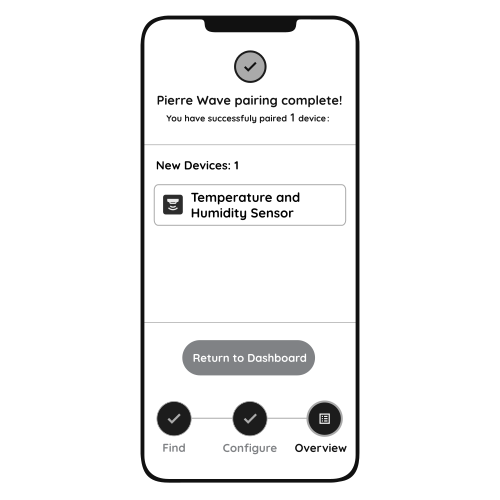
When the Light indicator stops flashing, the PIERRE Wave pairing process is finished
Commissioning walkthrough for the Wave temperature and humidity sensor. https://www.youtube.com/watch?v=sy6ix_zDCwM
At eye level (about 1.5 m), away from draughts, direct sunlight, heat sources and external walls.
One per room or zone where you want to measure or control temperature and humidity.
Not always. Calibrate if the reading disagrees with a reference thermometer, or if the sensor sits where electronics, sunlight or poor airflow affect it. In the Smart PIERRE app an offset can be set for the temperature and humidity values.
Where moisture matters most (bathroom, kitchen, cellar), at head height and in free air. Do not hide it behind furniture or in a cavity; it needs airflow to measure correctly.